Zabbix 5.2 Postgresql 13 Centos 8 Apache 2.4 Install Memo
Zabbix 5.2 Postgresql 13 Centos8 Apache Install
1. PostgreSQL13 Installとsetup
--postgresのバスワードを設定変更するのを忘れないように注意
su postgres
alter role postgres with password 'Passwd643';
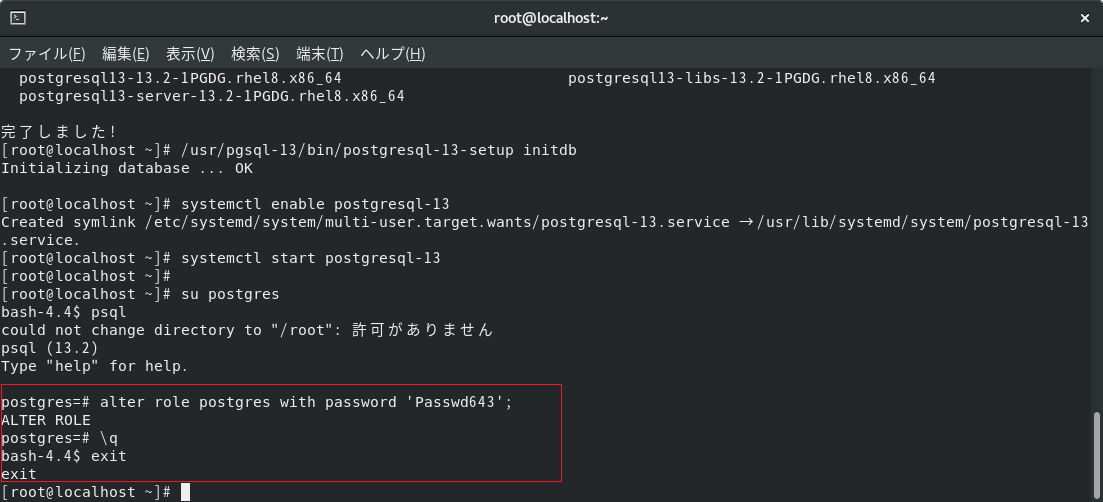
----
pg_hba.confとpostgres.confを設定して、外部のPgAdminなとから、接続できるか確認する
で、postgres.confのチューニングも可能
2. ファイアーウォールとSELinuxの無効化をして、システム再起動
firewall-cmd --add-service=http --zone=public --permanent
systemctl reboot
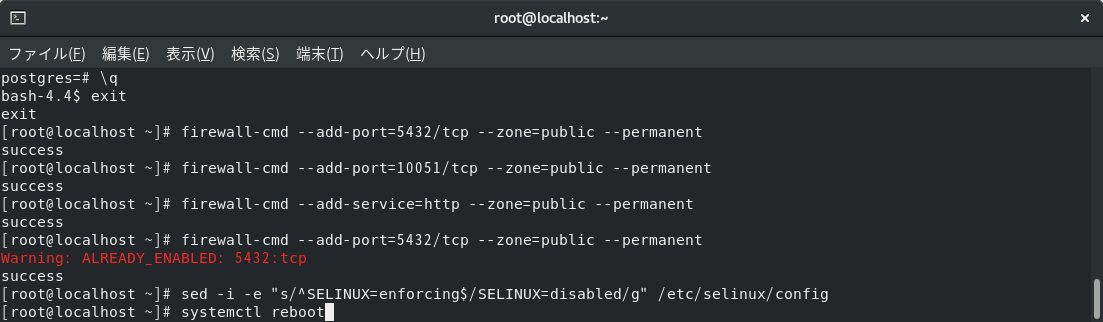
getenforce

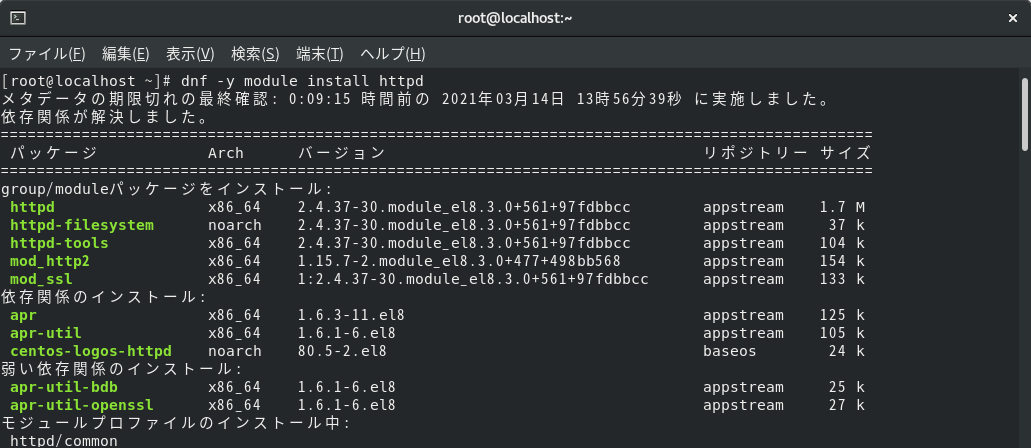
4.
dnf -y module install httpd
5.
dnf -y module install php

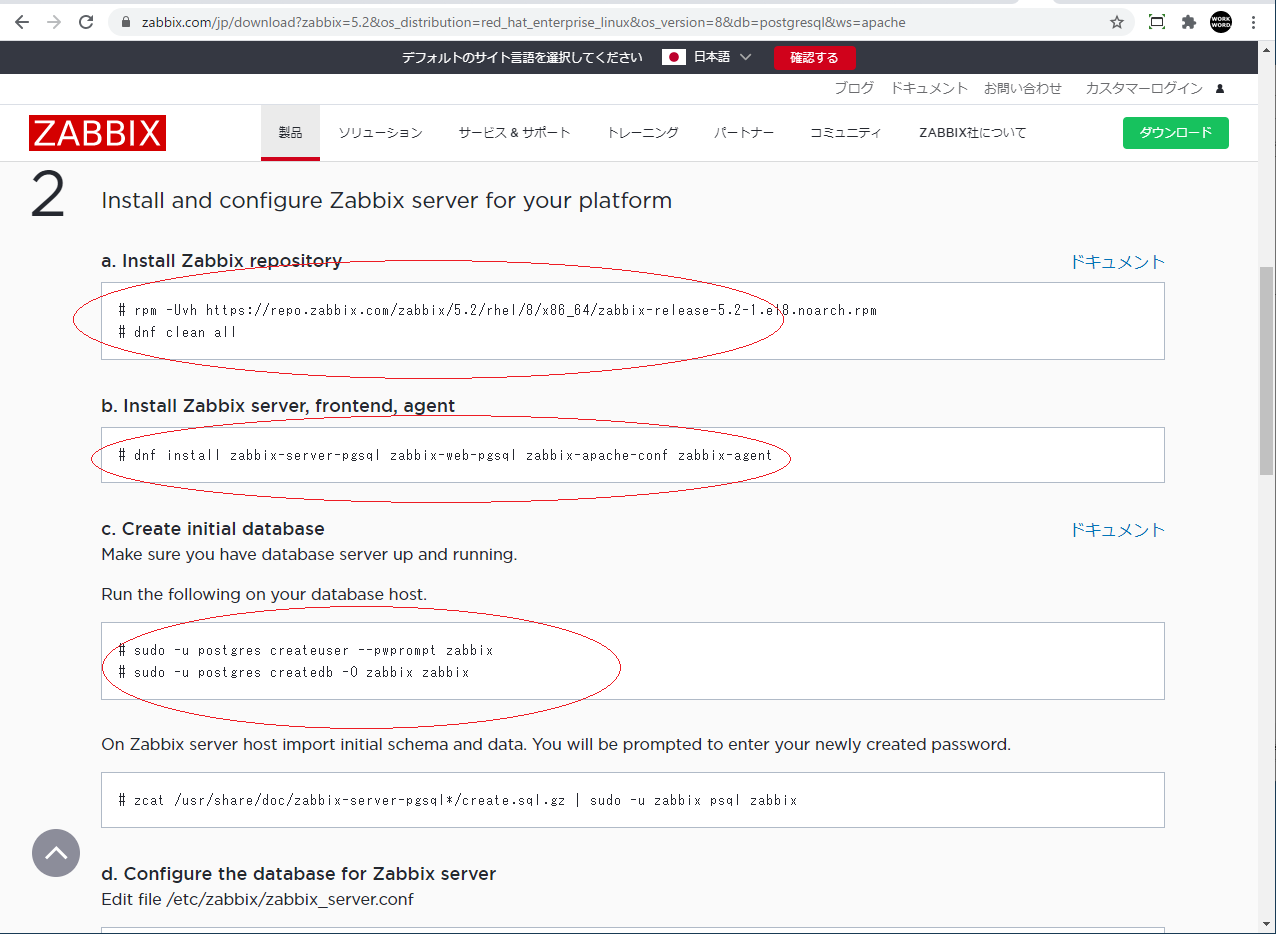
6. Install and configure Zabbix server for your platformのコマンドを実行

---------------------------
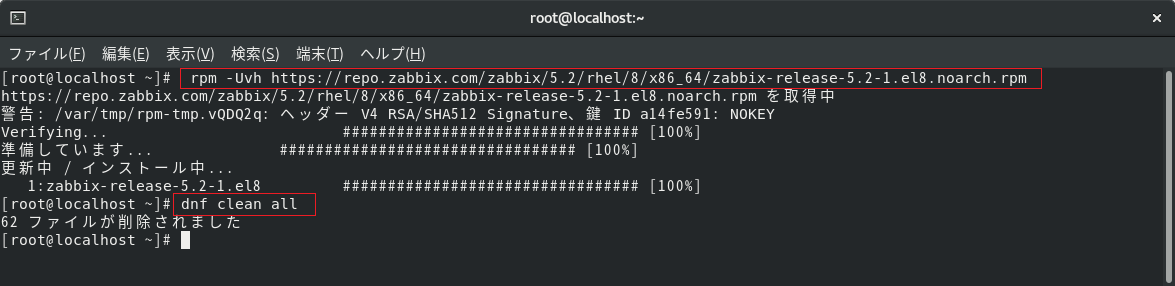
a. Install Zabbix repository
# dnf clean all
---------------------------
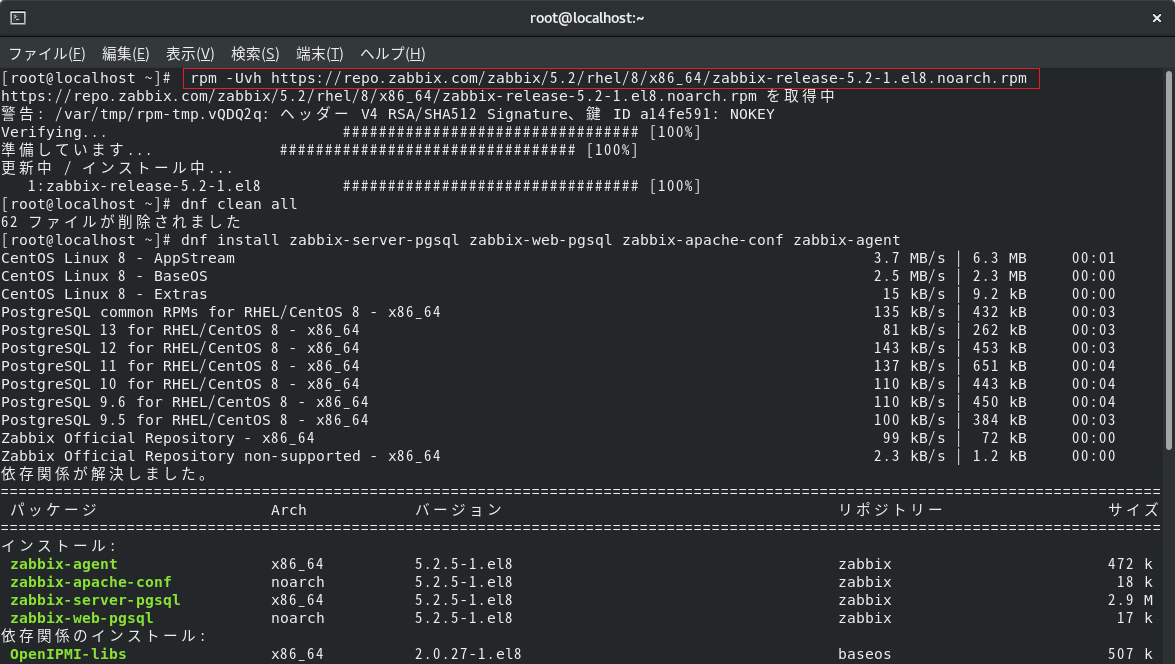
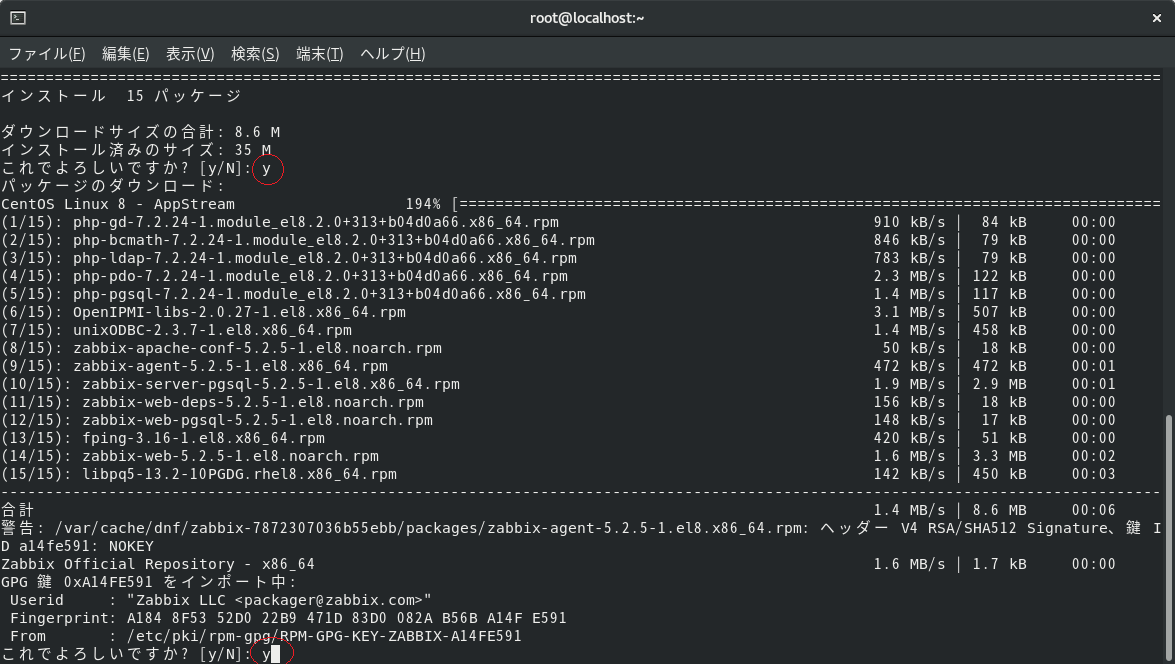
b. Install Zabbix server, frontend, agent
# dnf install zabbix-server-pgsql zabbix-web-pgsql zabbix-apache-conf zabbix-agent
yで進む

---------------------------
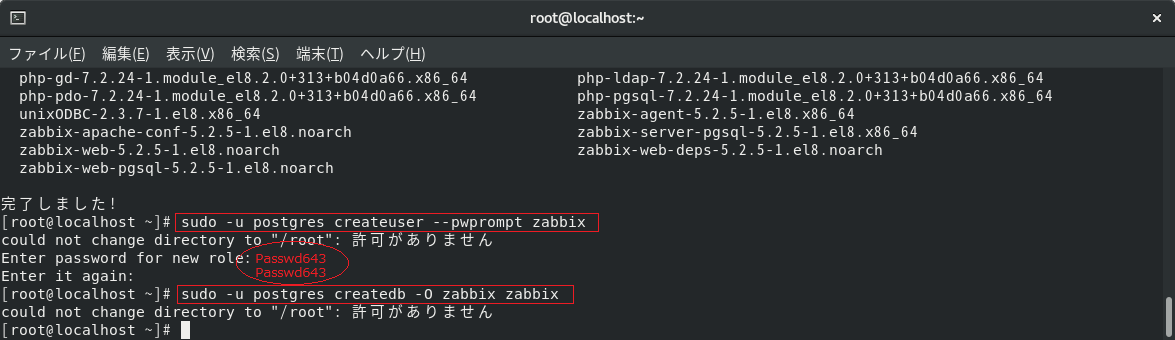
c. Create initial database / Make sure you have database server up and running. /Run the following on your database host.
# sudo -u postgres createuser --pwprompt zabbix
# sudo -u postgres createdb -O zabbix zabbix
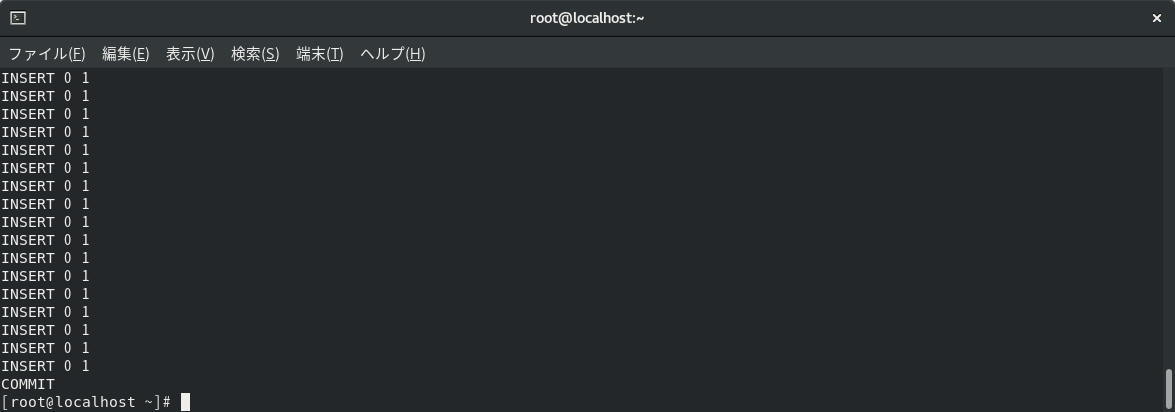
On Zabbix server host import initial schema and data. You will be prompted to enter your newly created password.
---------------------------
d. Configure the database for Zabbix server
Edit file /etc/zabbix/zabbix_server.conf
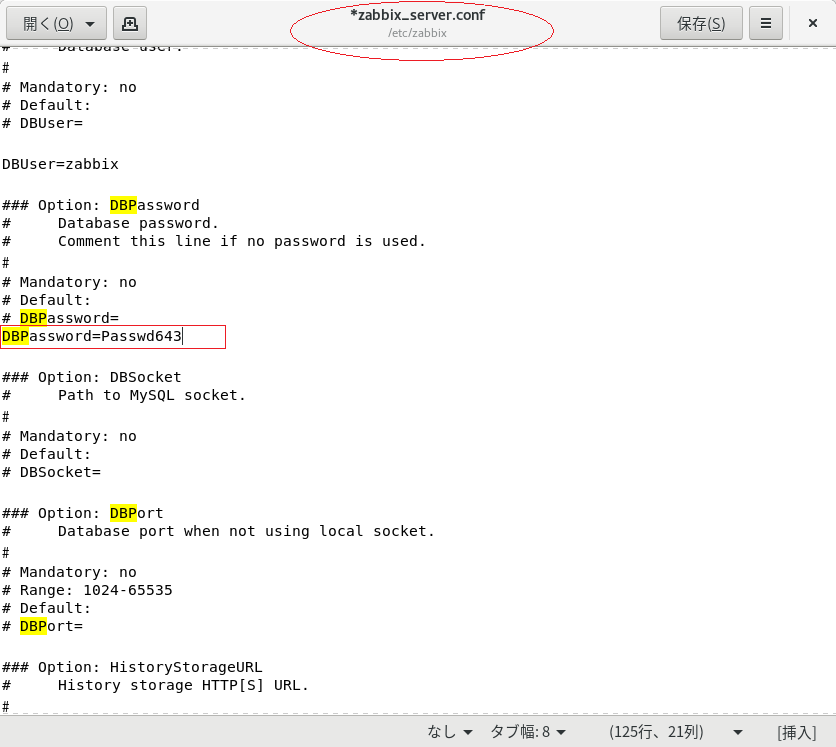
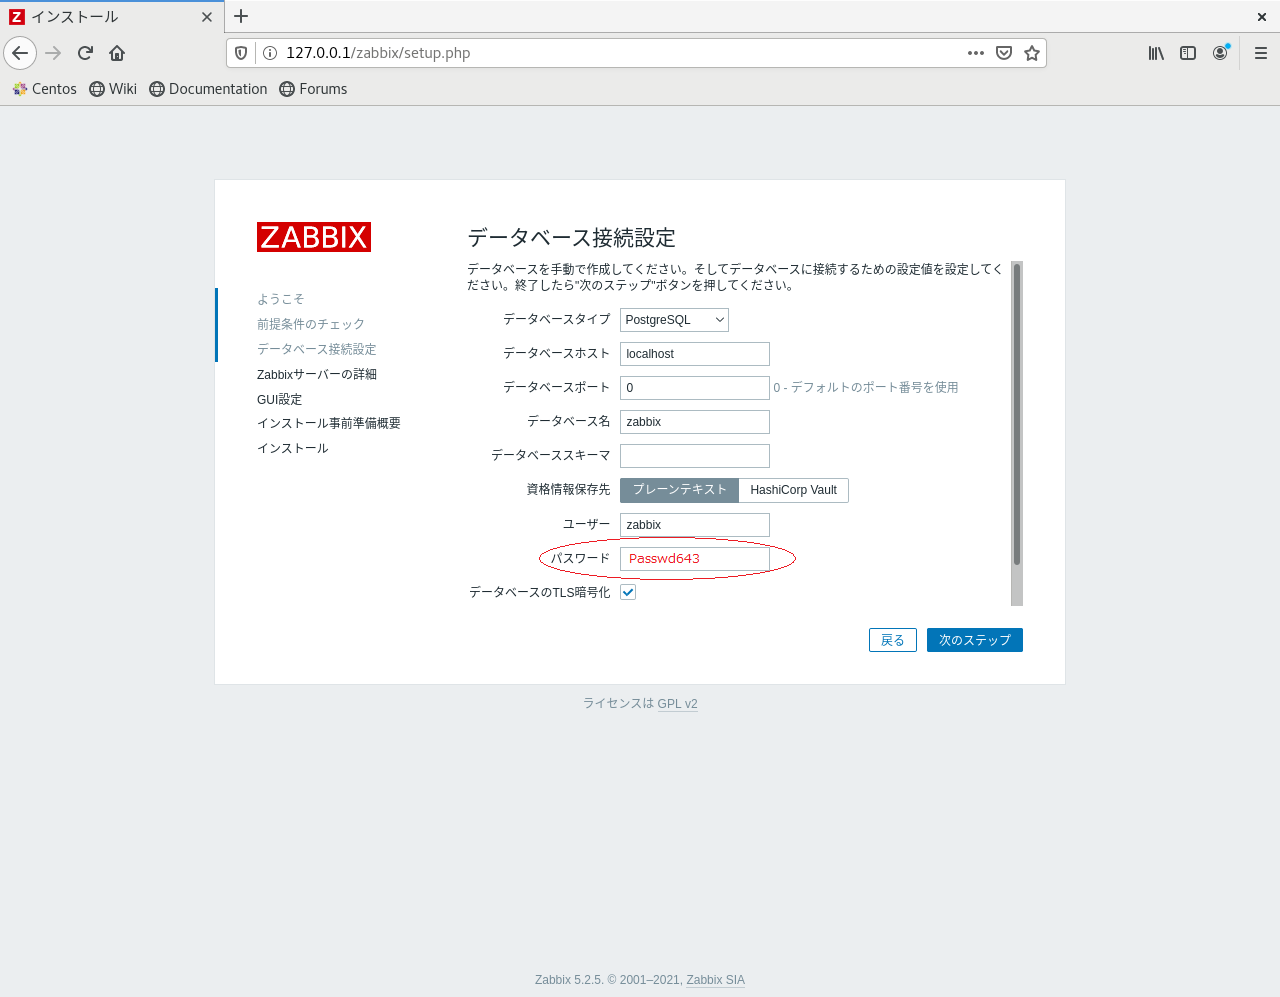
DBPassword=Passwd643
---------------------------
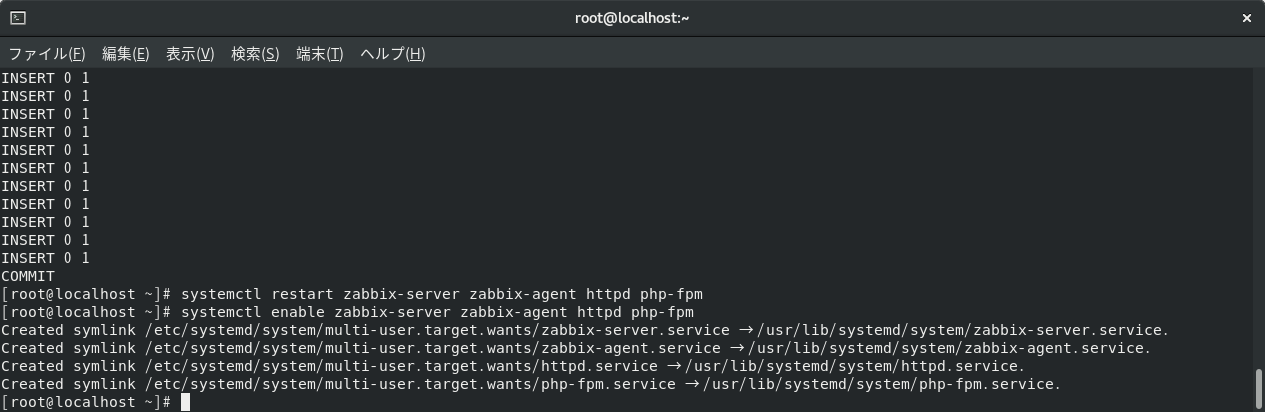
e. Start Zabbix server and agent processes
Start Zabbix server and agent processes and make it start at system boot.
---------------------------
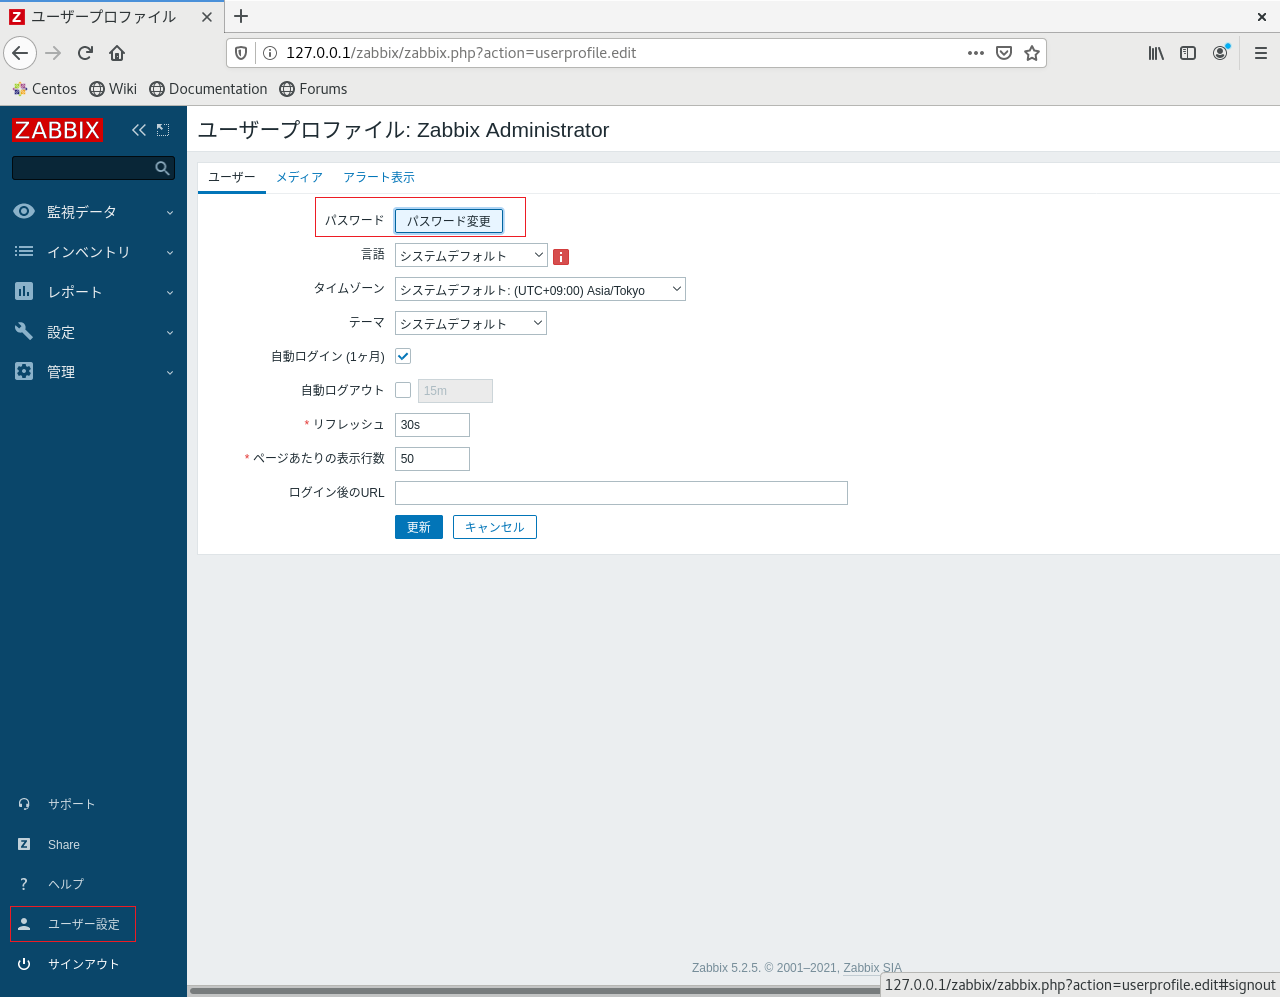
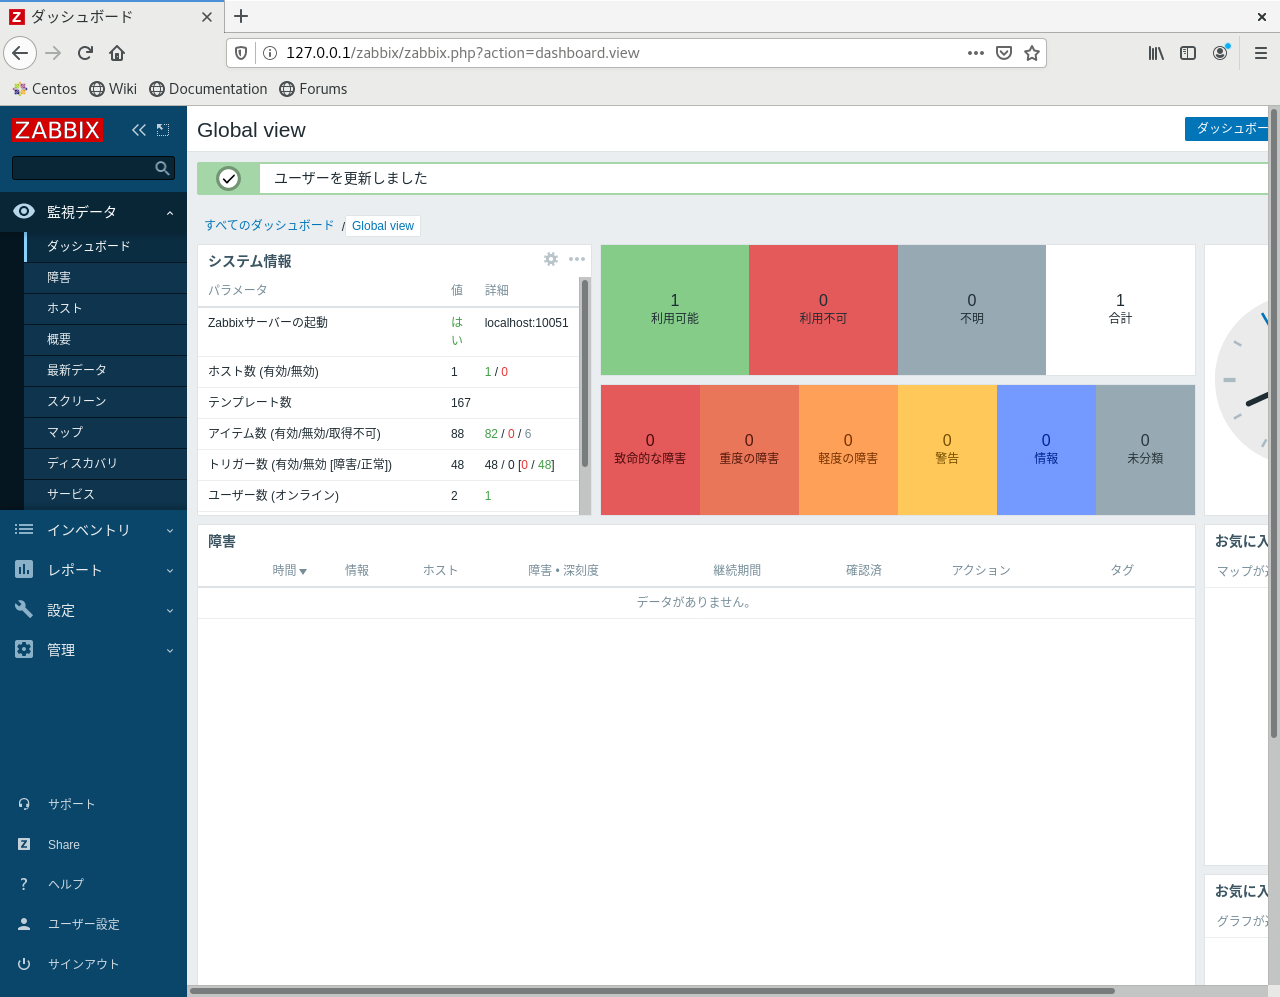
f. Zabbixフロントエンドの設定
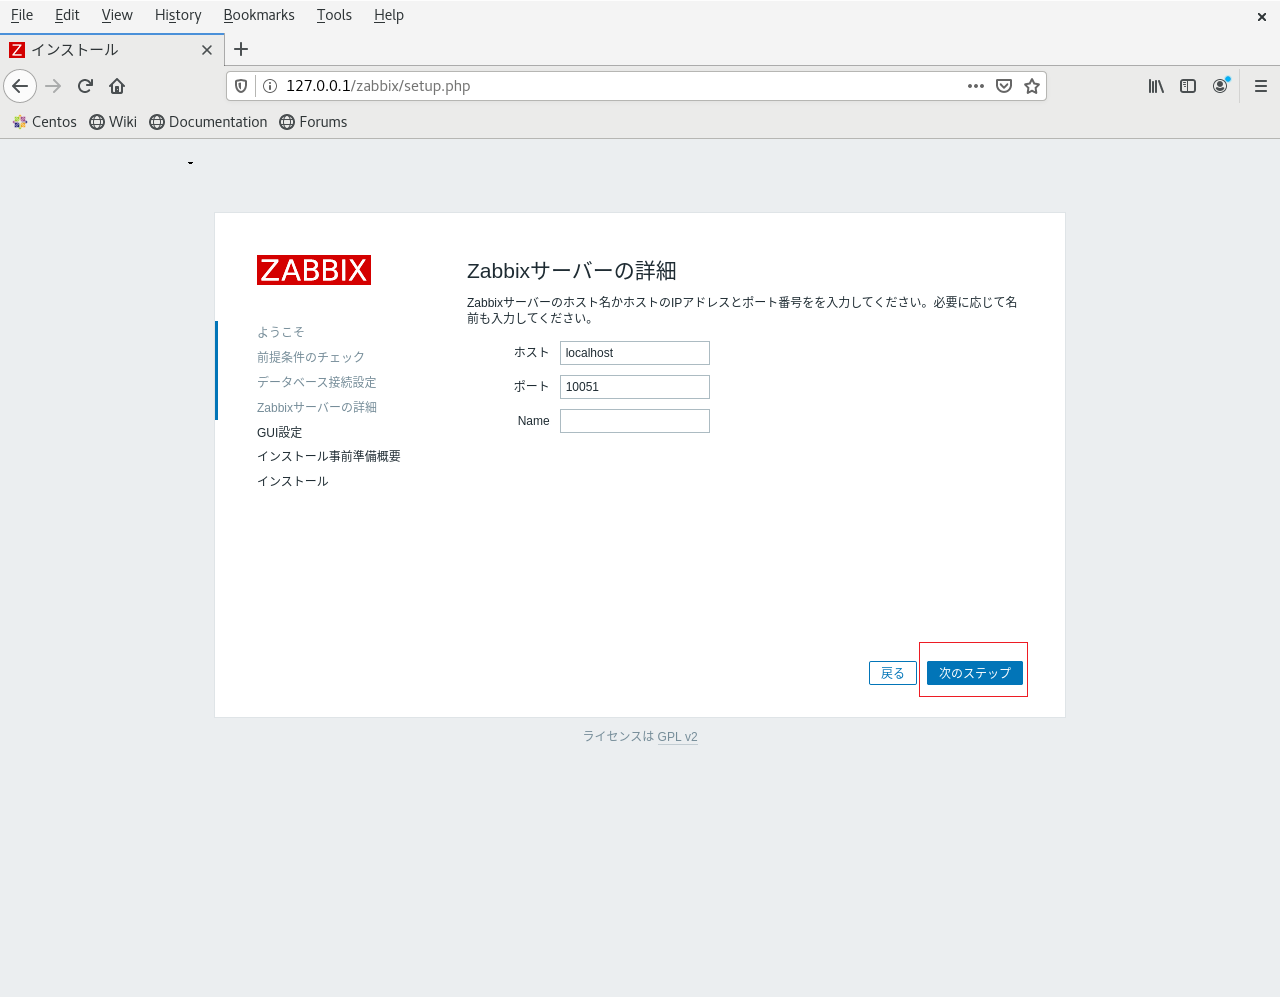
Connect to your newly installed Zabbix frontend: http://server_ip_or_name/zabbix
Follow steps described in Zabbix documentation: Installing frontend
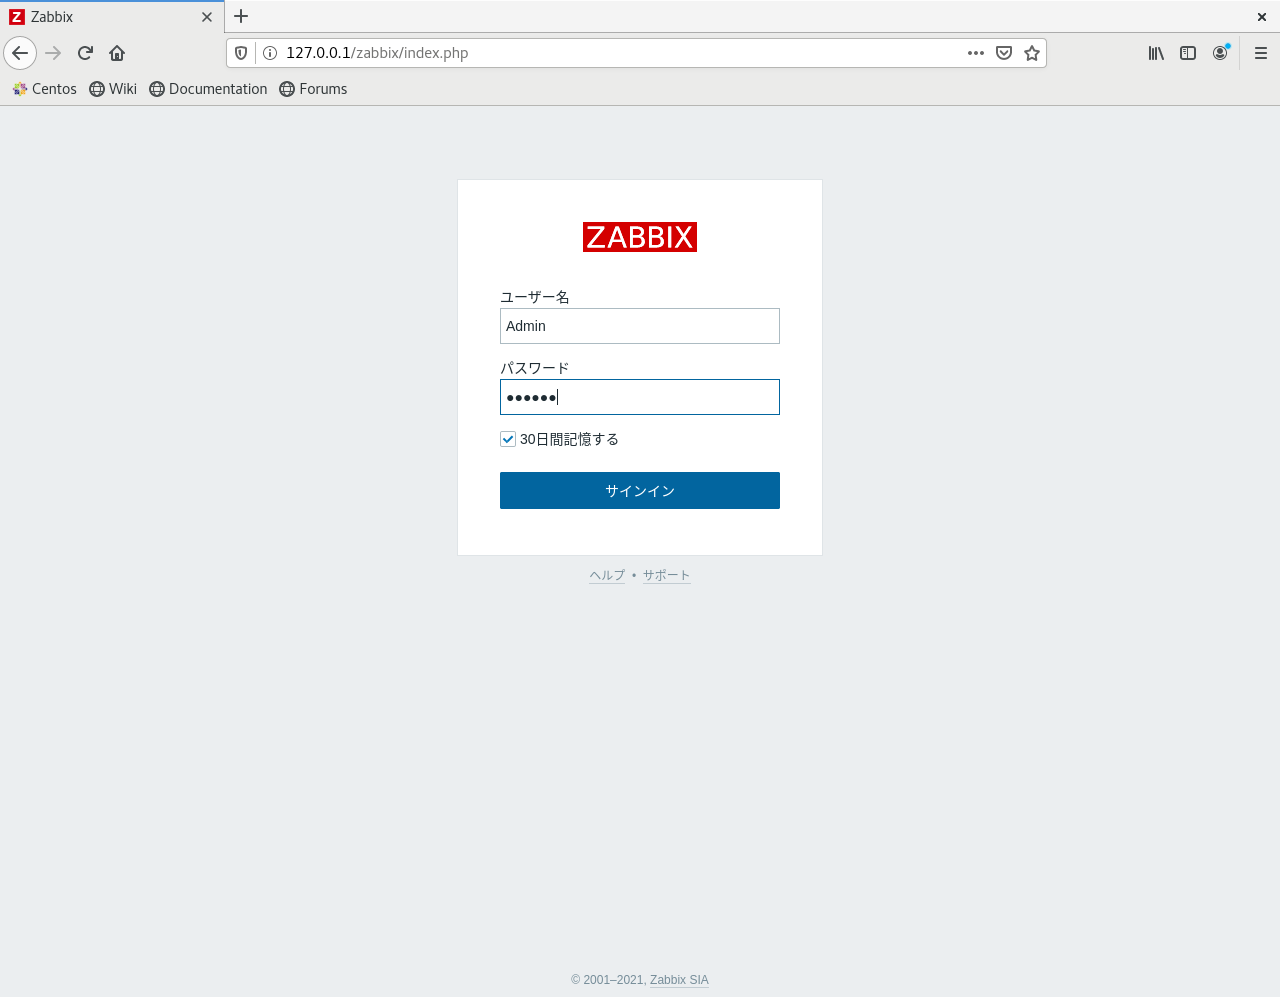
127.0.0.1/zabbix
初期ログイン
Admin (Aが大文字です)
zabbix
---------------------------

---------------------------
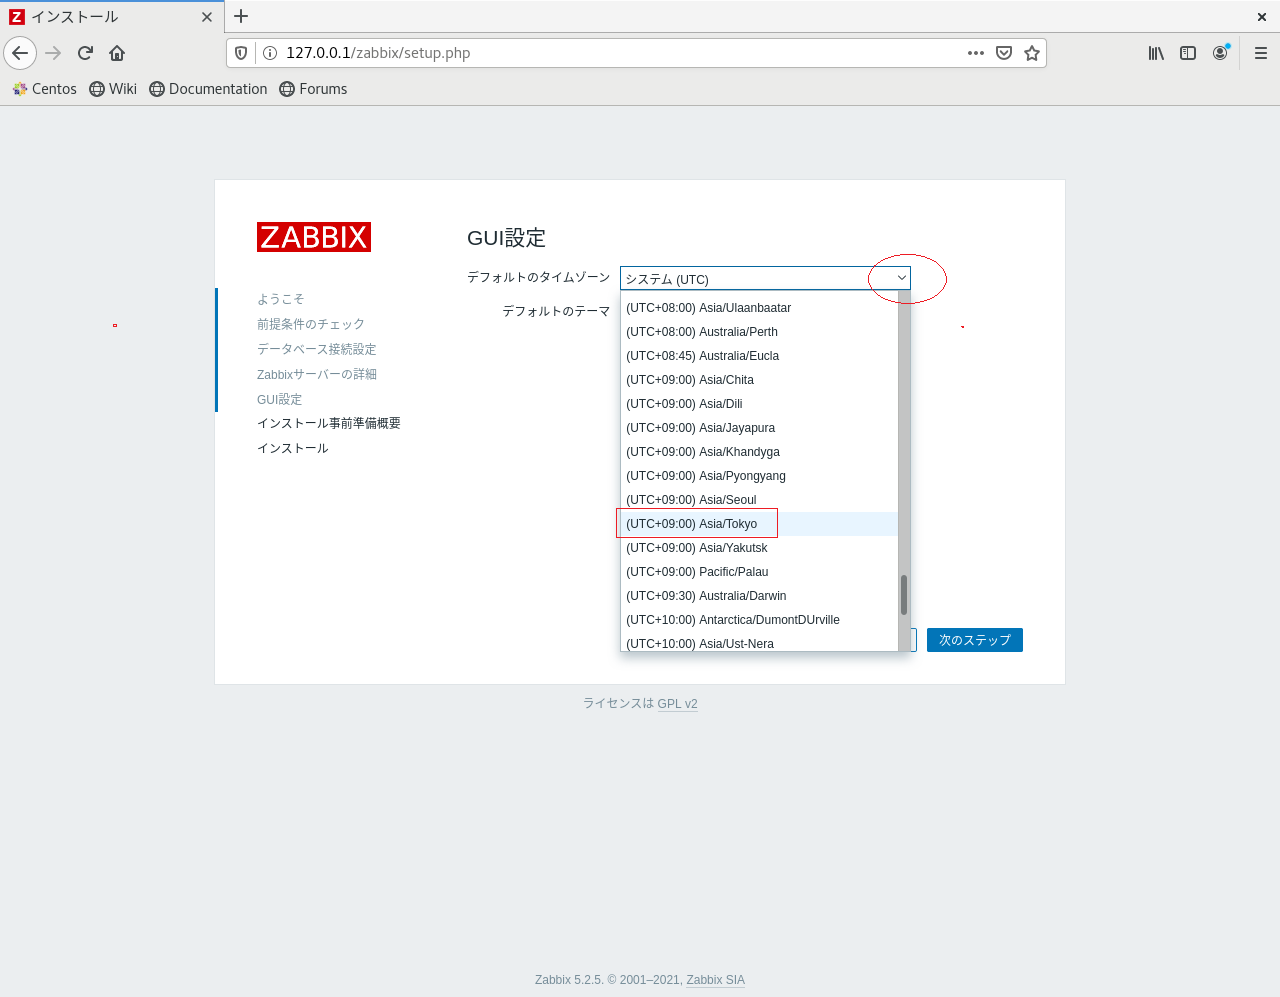
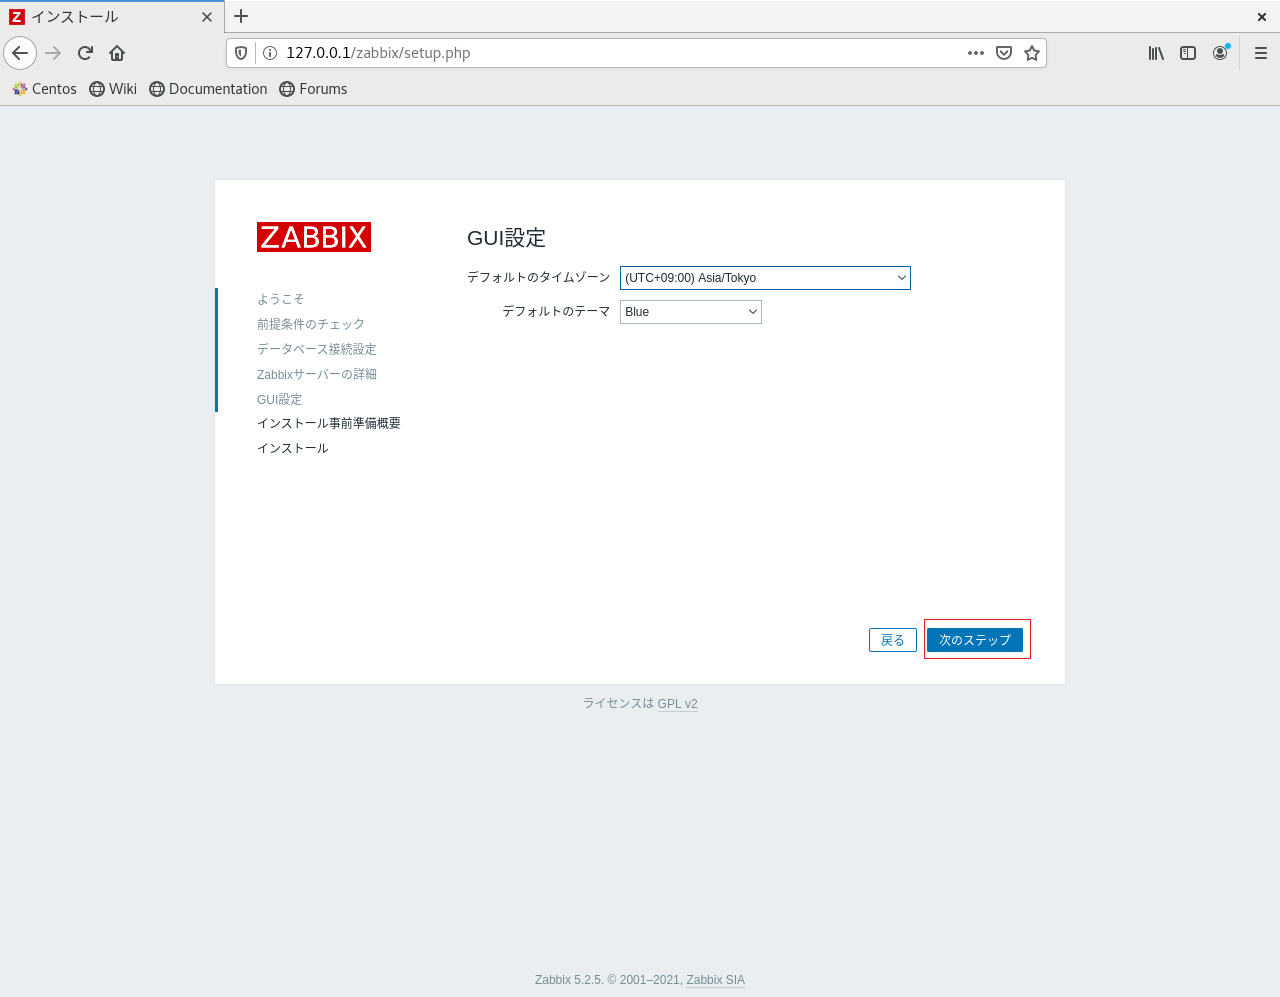
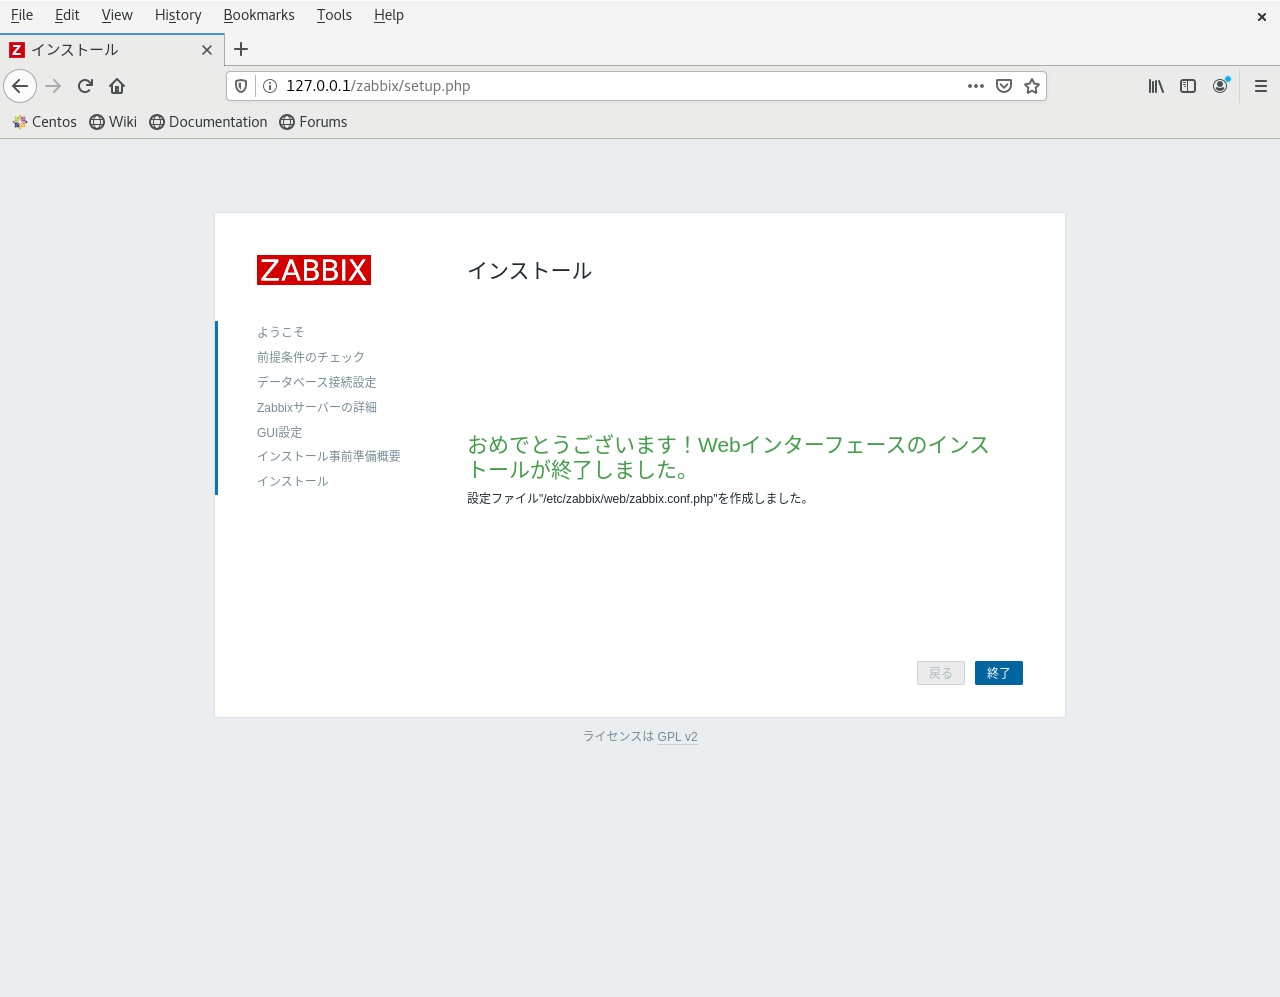
127.0.0.1 /zabbix で、 zabbixの初期画面が表示
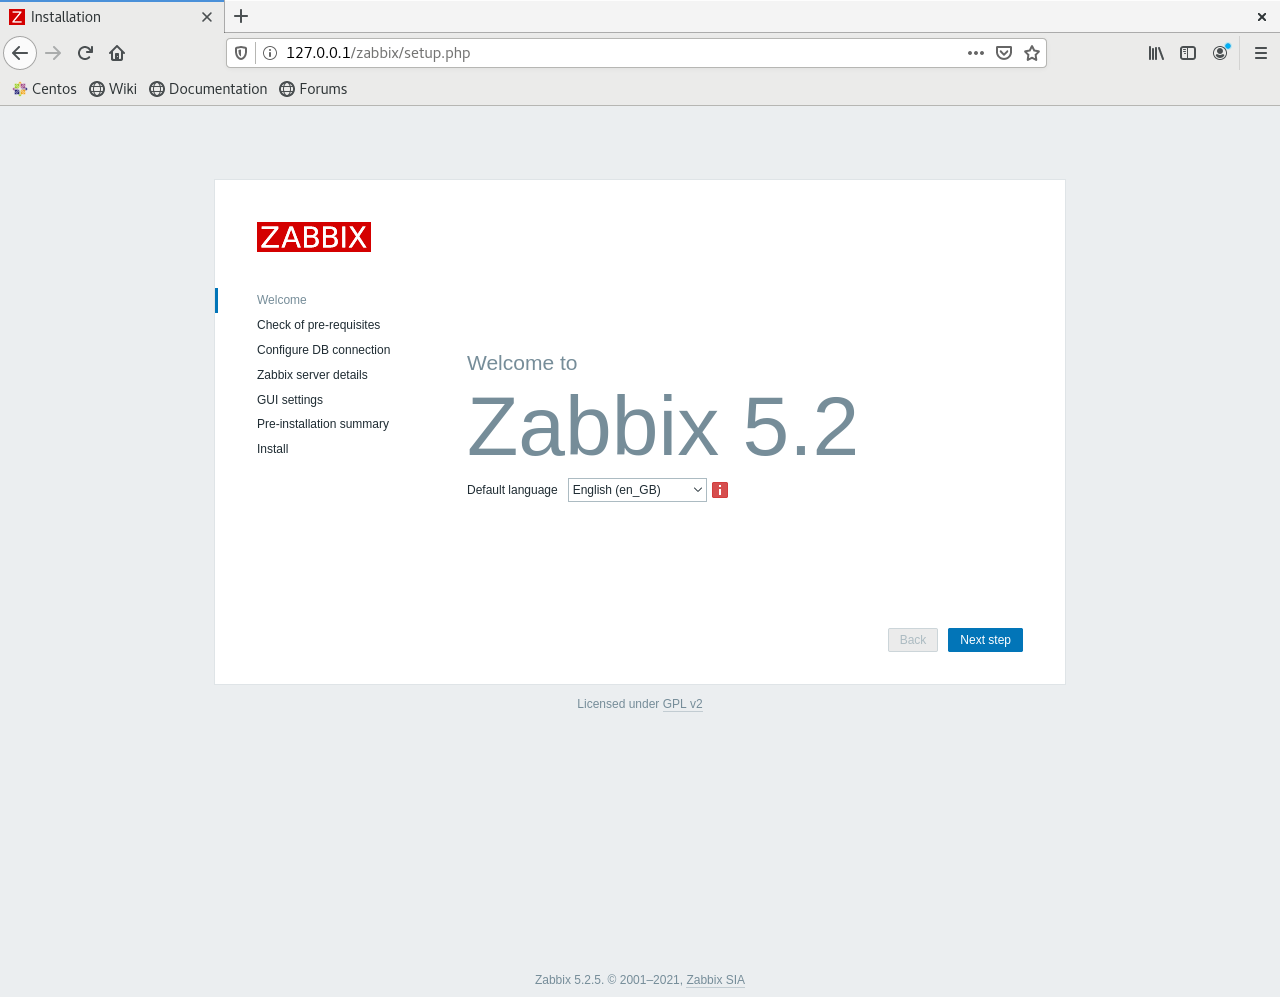
01
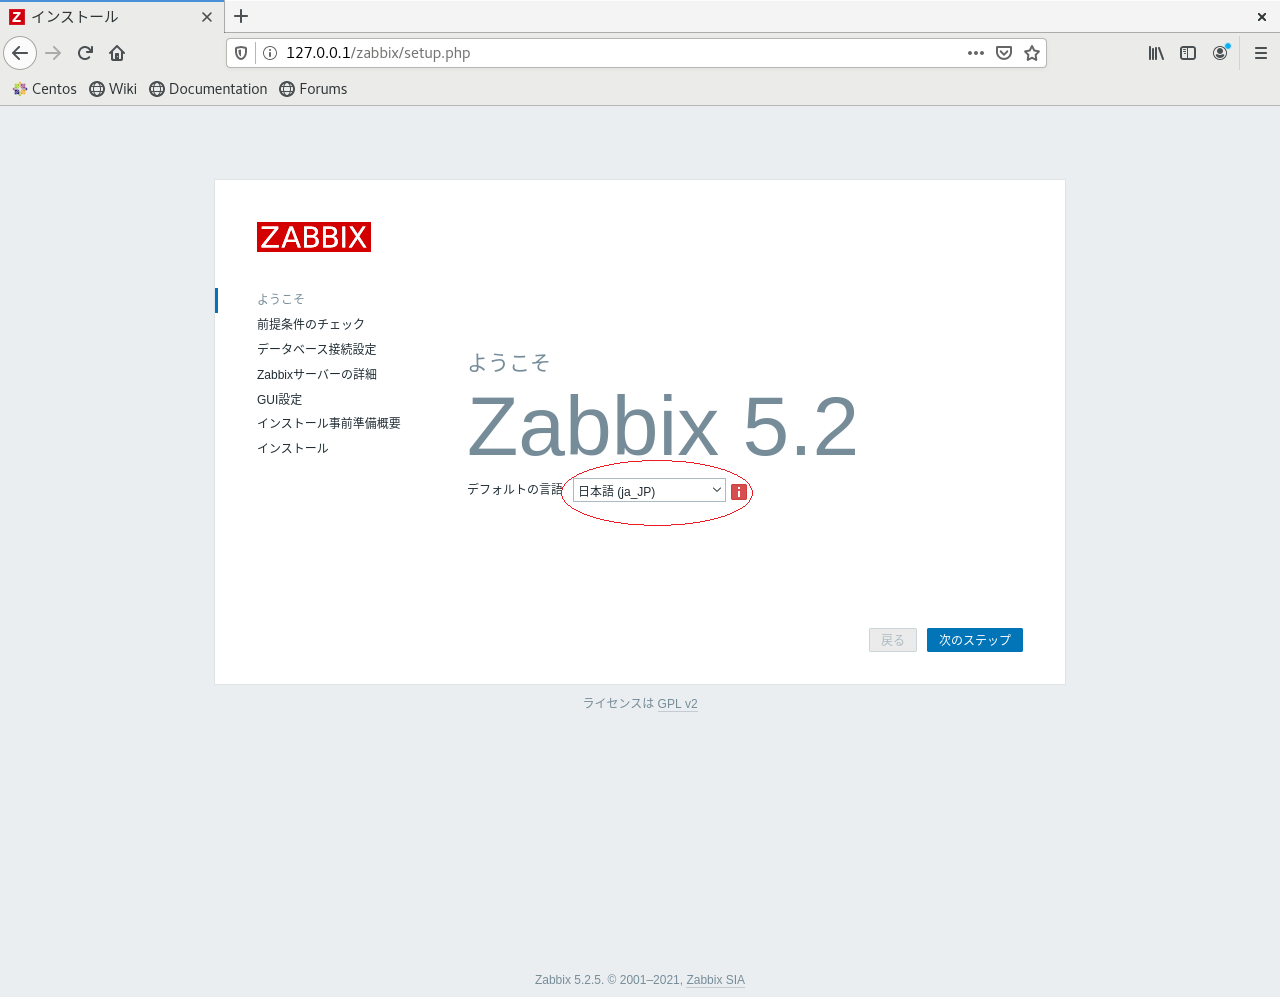
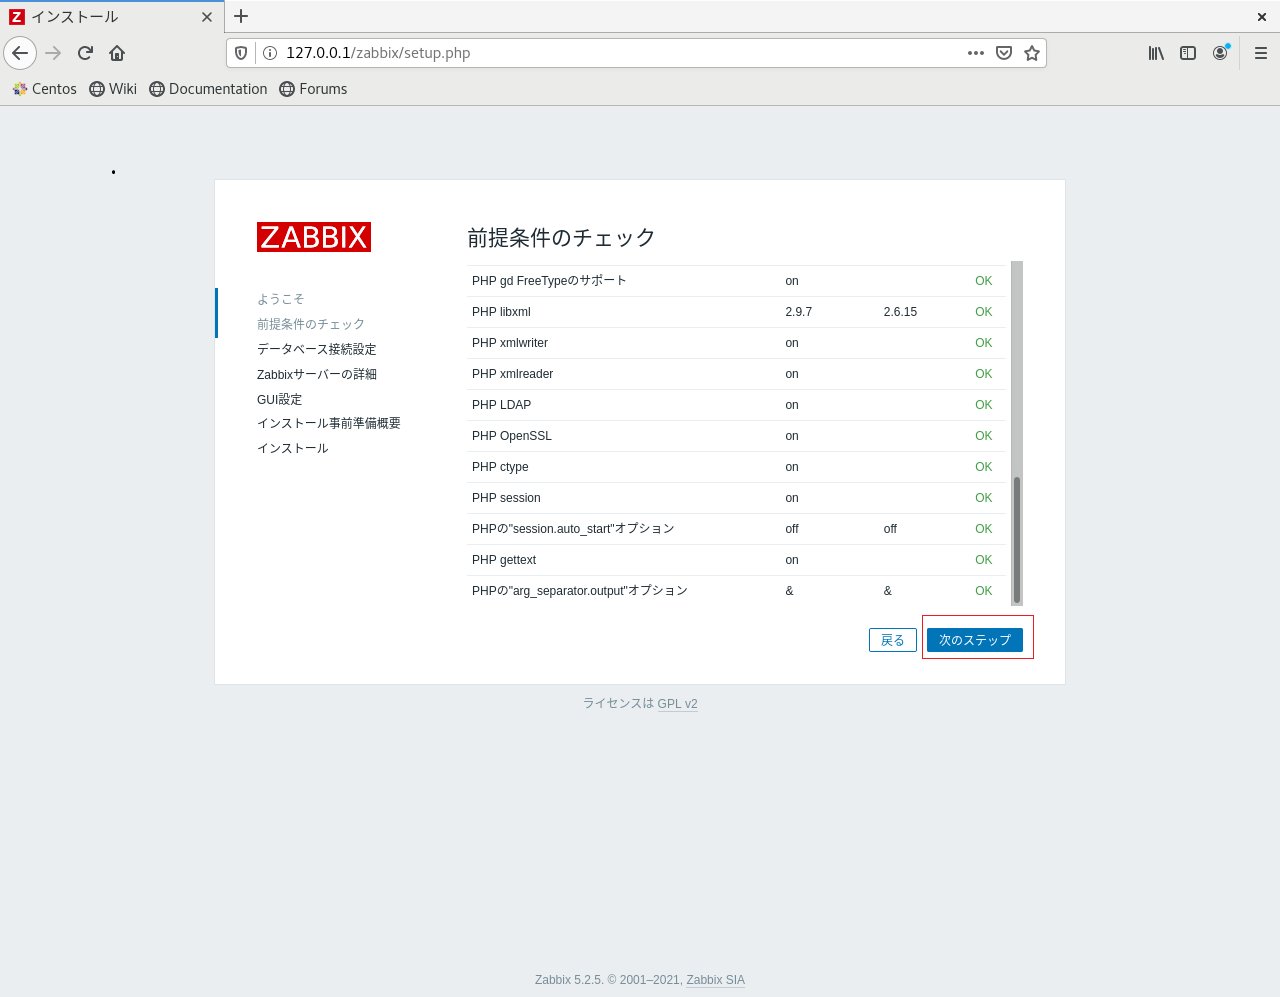
02

03
04 PostgreSQL の パスワードを入力
05
06
07
08

09
10
11
12
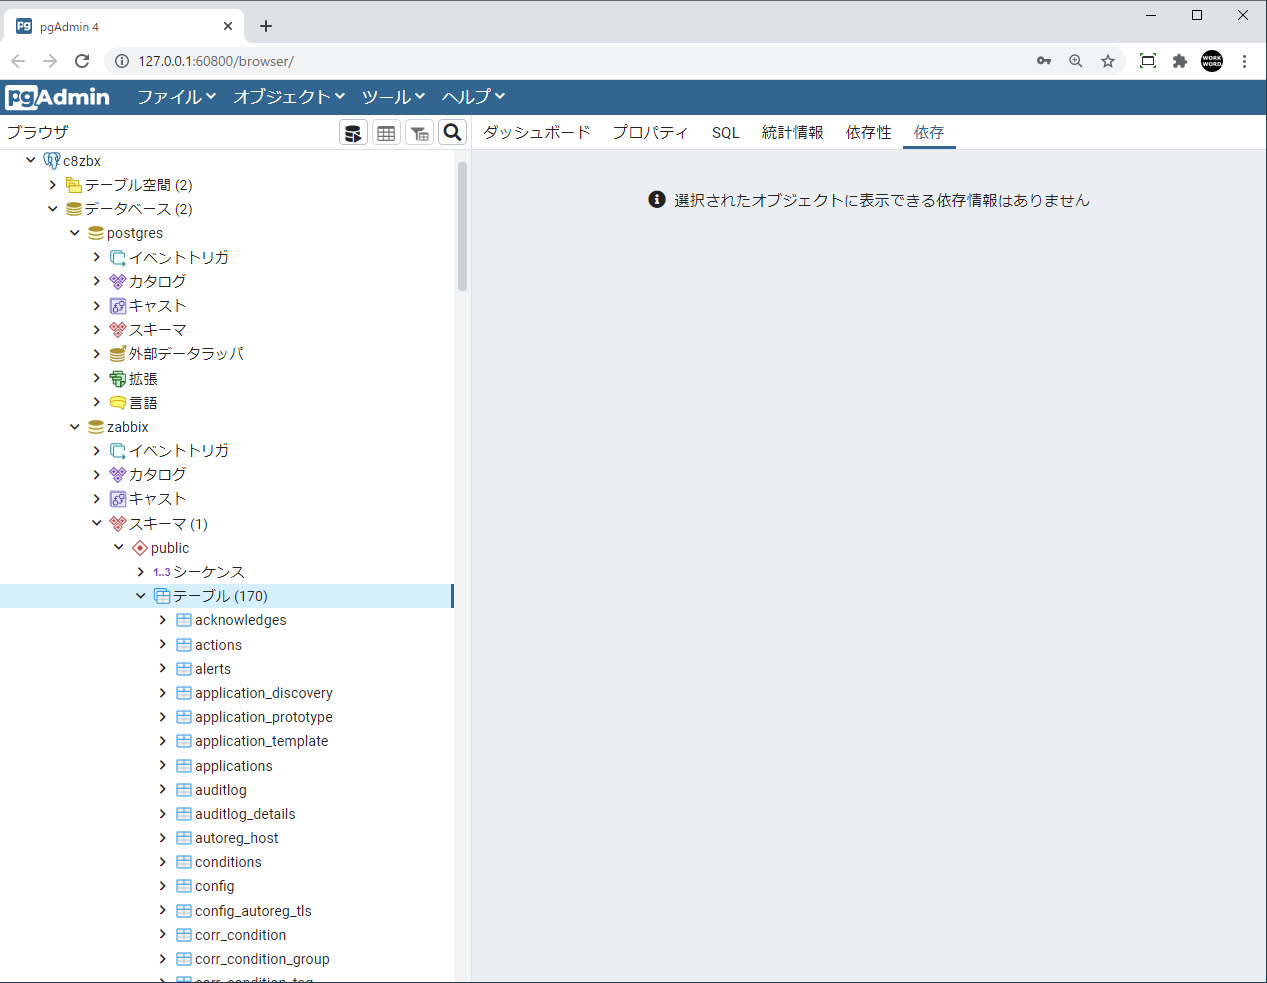
pgAdmin4からアクセス