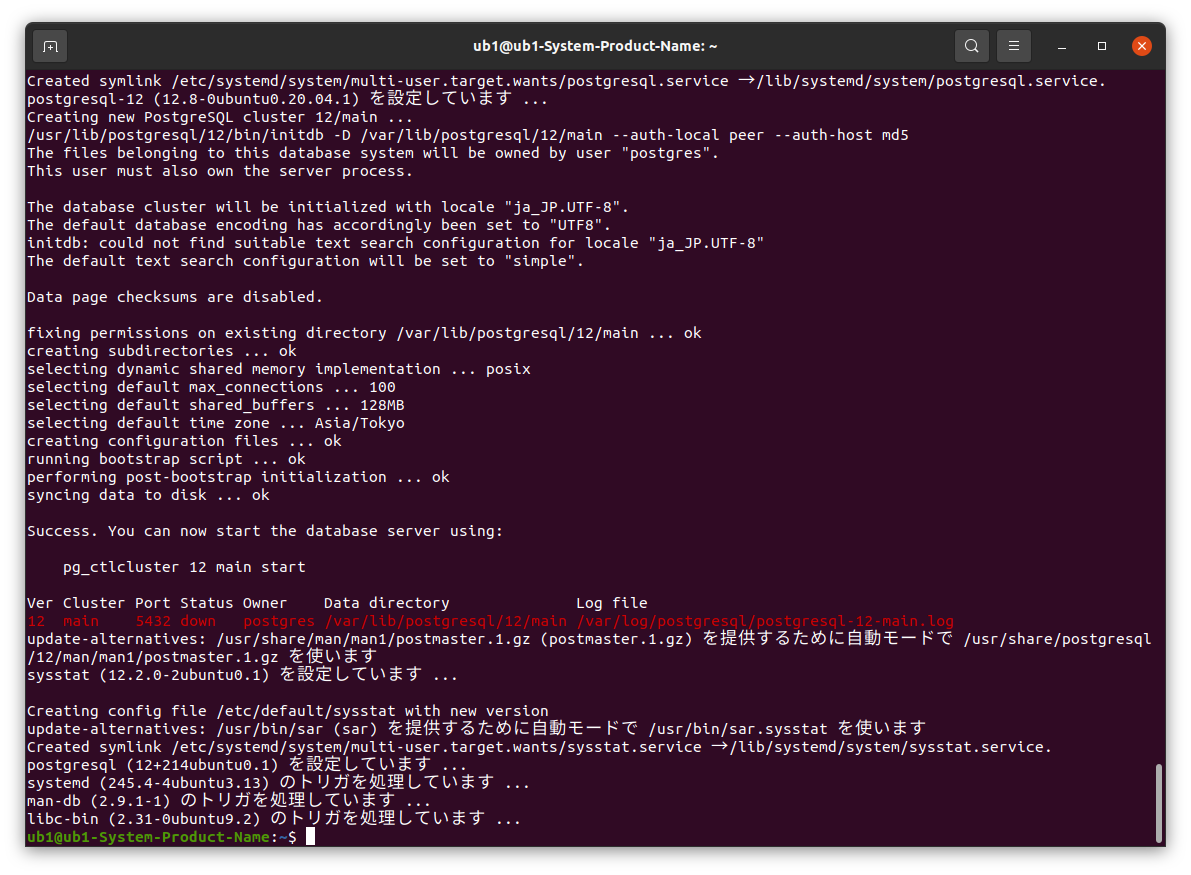
err PostgreSQL14 Ubuntu20.04
#ファイルリポジトリ構成を作成します。
sudo sh -c'echo "deb http://apt.postgresql.org/pub/repos/apt $(lsb_release -cs)-pgdg main"> /etc/apt/sources.list.d/pgdg.list '
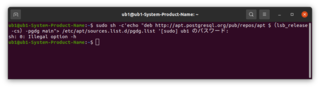
sudo sh -c'echo "deb http://apt.postgresql.org/pub/repos/apt $(lsb_release -cs)-pgdg main"> /etc/apt/sources.list.d/pgdg.list '

#リポジトリ署名キーをインポートします。
wget --quiet -O-https://www.postgresql.org/media/keys/ACCC4CF8.asc | sudo apt-keyadd-
wget --quiet -O-https://www.postgresql.org/media/keys/ACCC4CF8.asc | sudo apt-keyadd-

Err
sudo: apt-keyadd-: コマンドが見つかりません
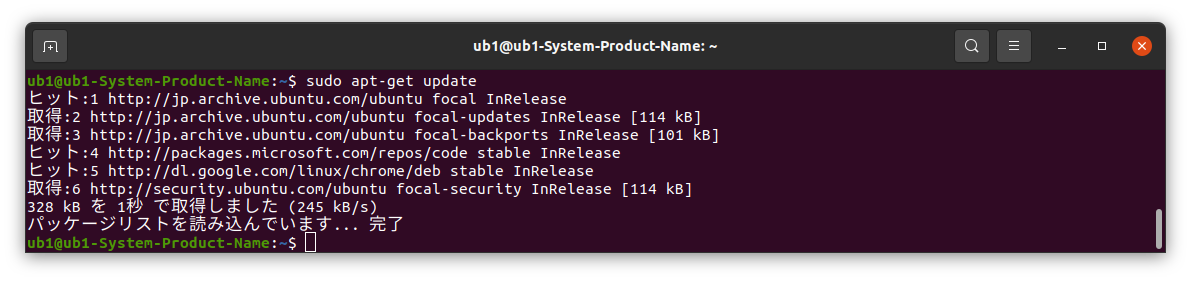
#パッケージリストを更新します。sudo apt-get update
#最新バージョンのPostgreSQLをインストールします。
#特定のバージョンが必要な場合は、「postgresql」の代わりに「postgresql-12」などを使用してください。
sudo apt-get -y install postgresql

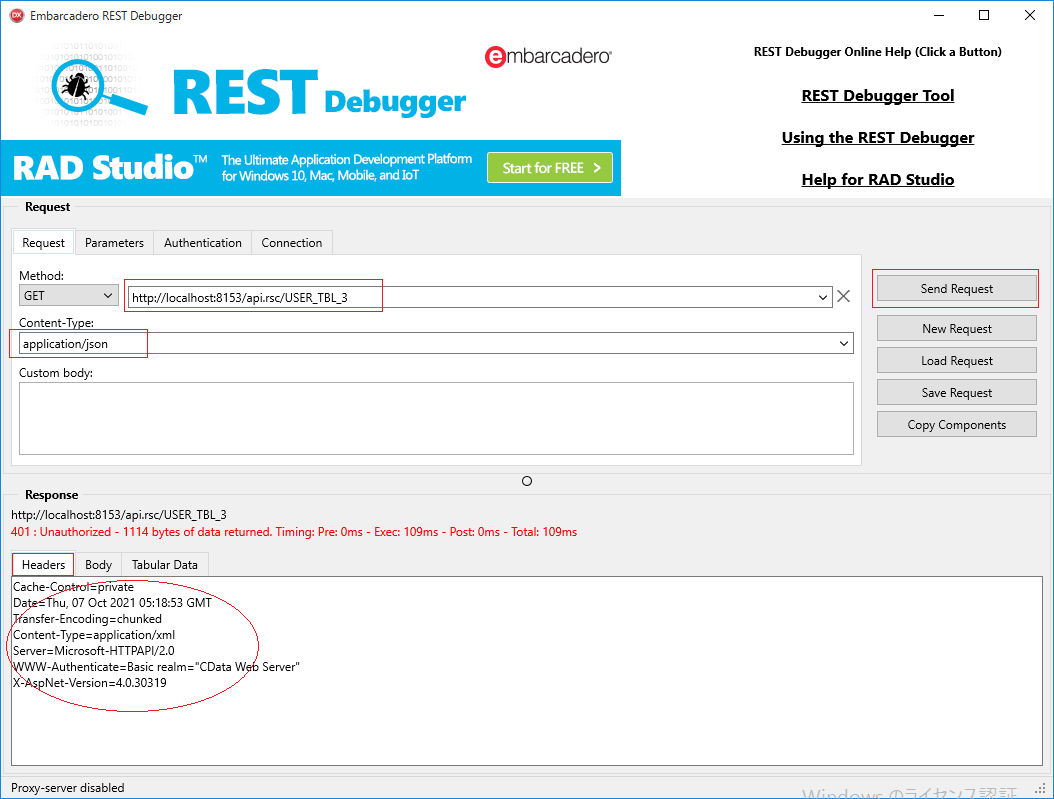
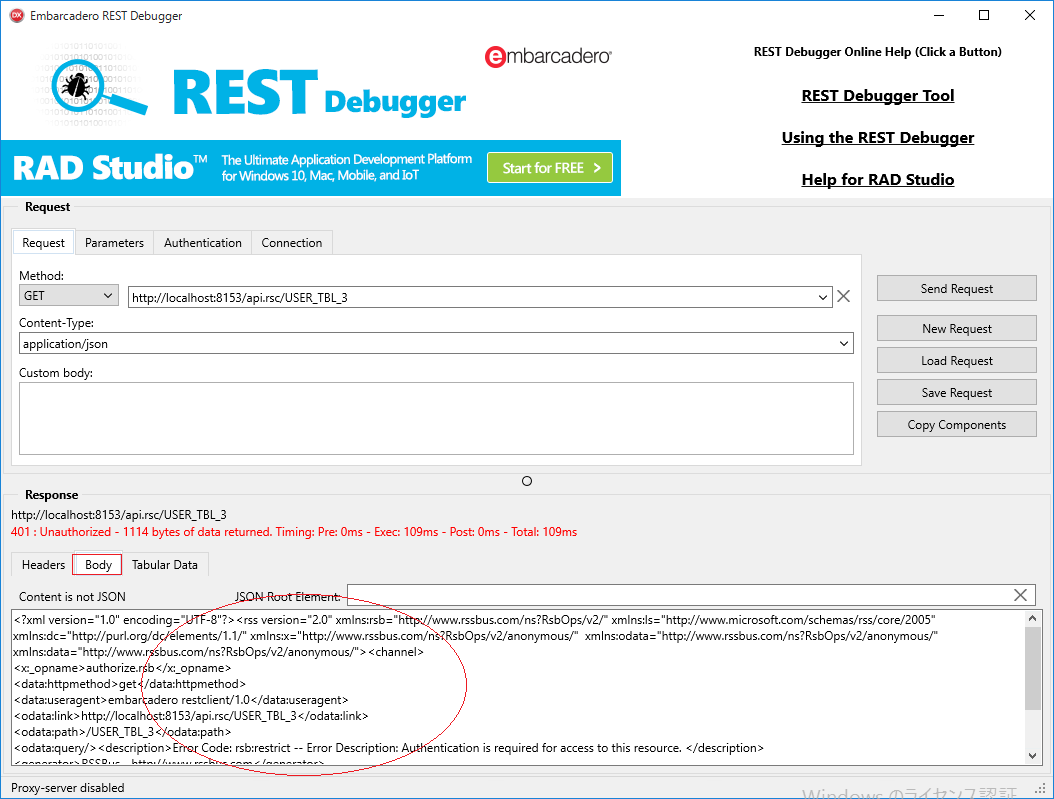
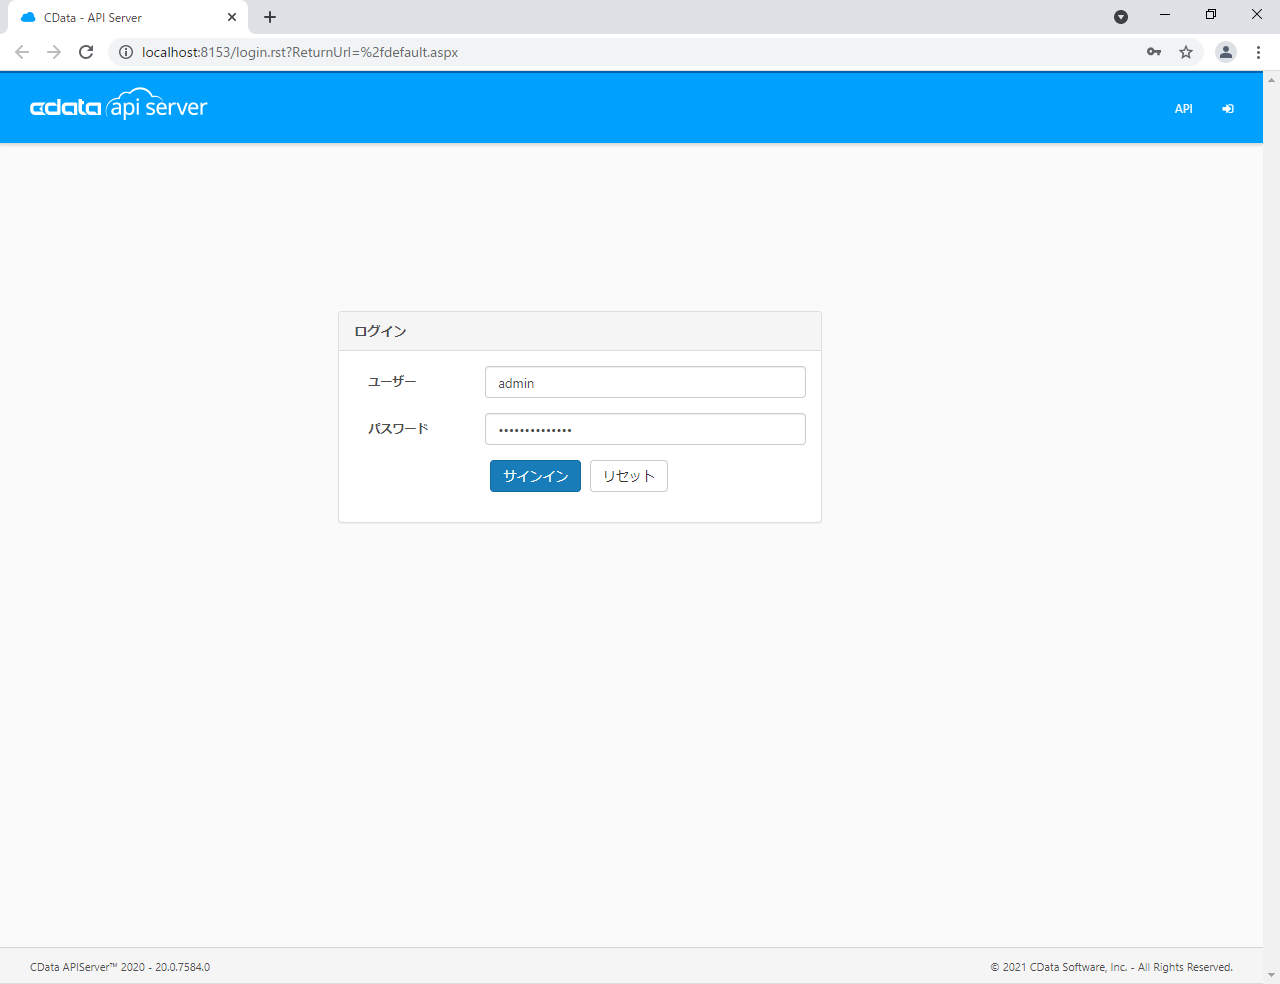
RestDebugger cdata

が
01
02
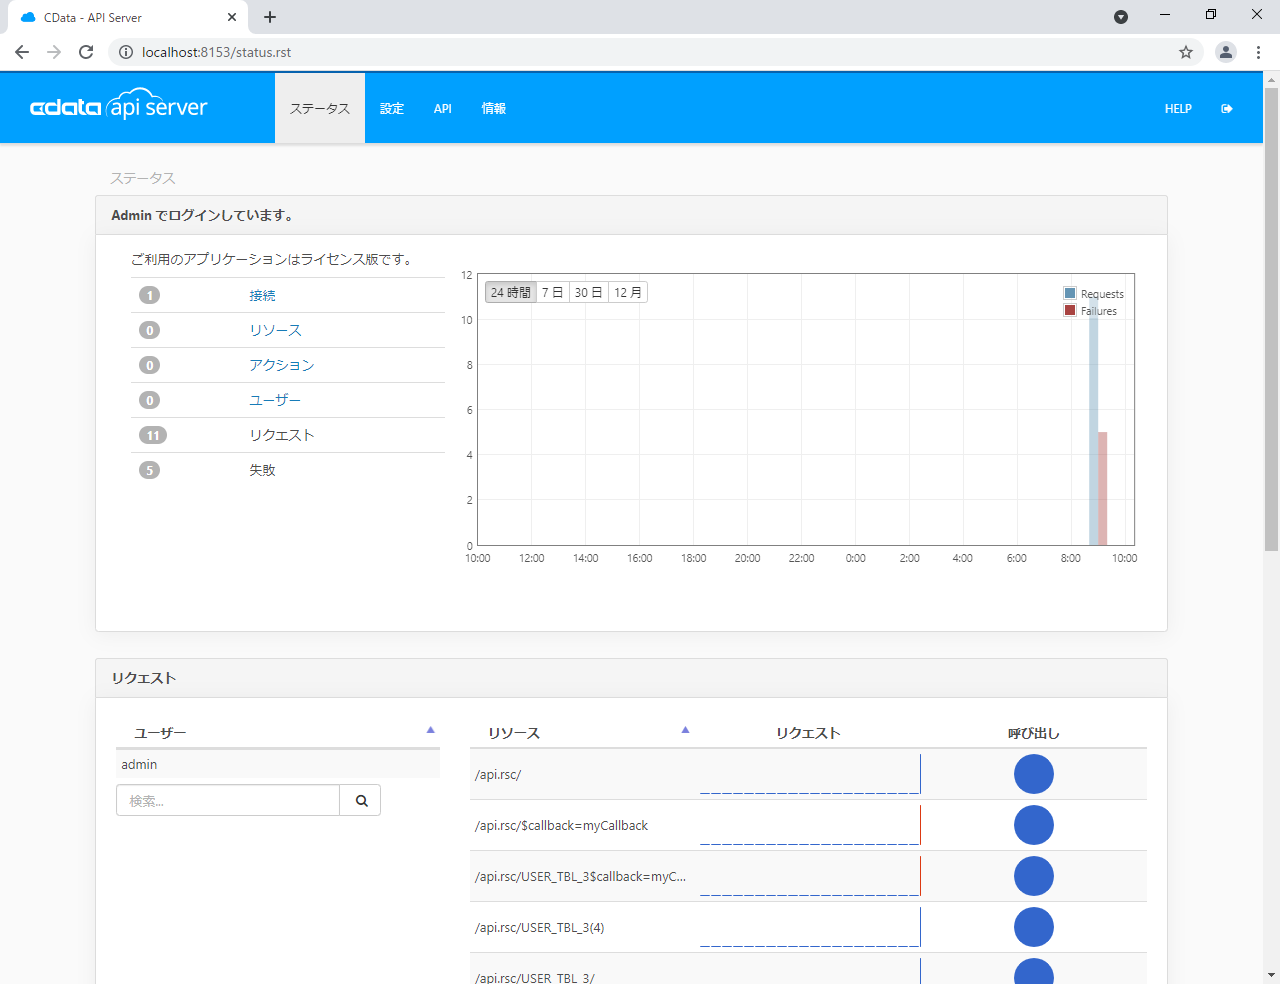


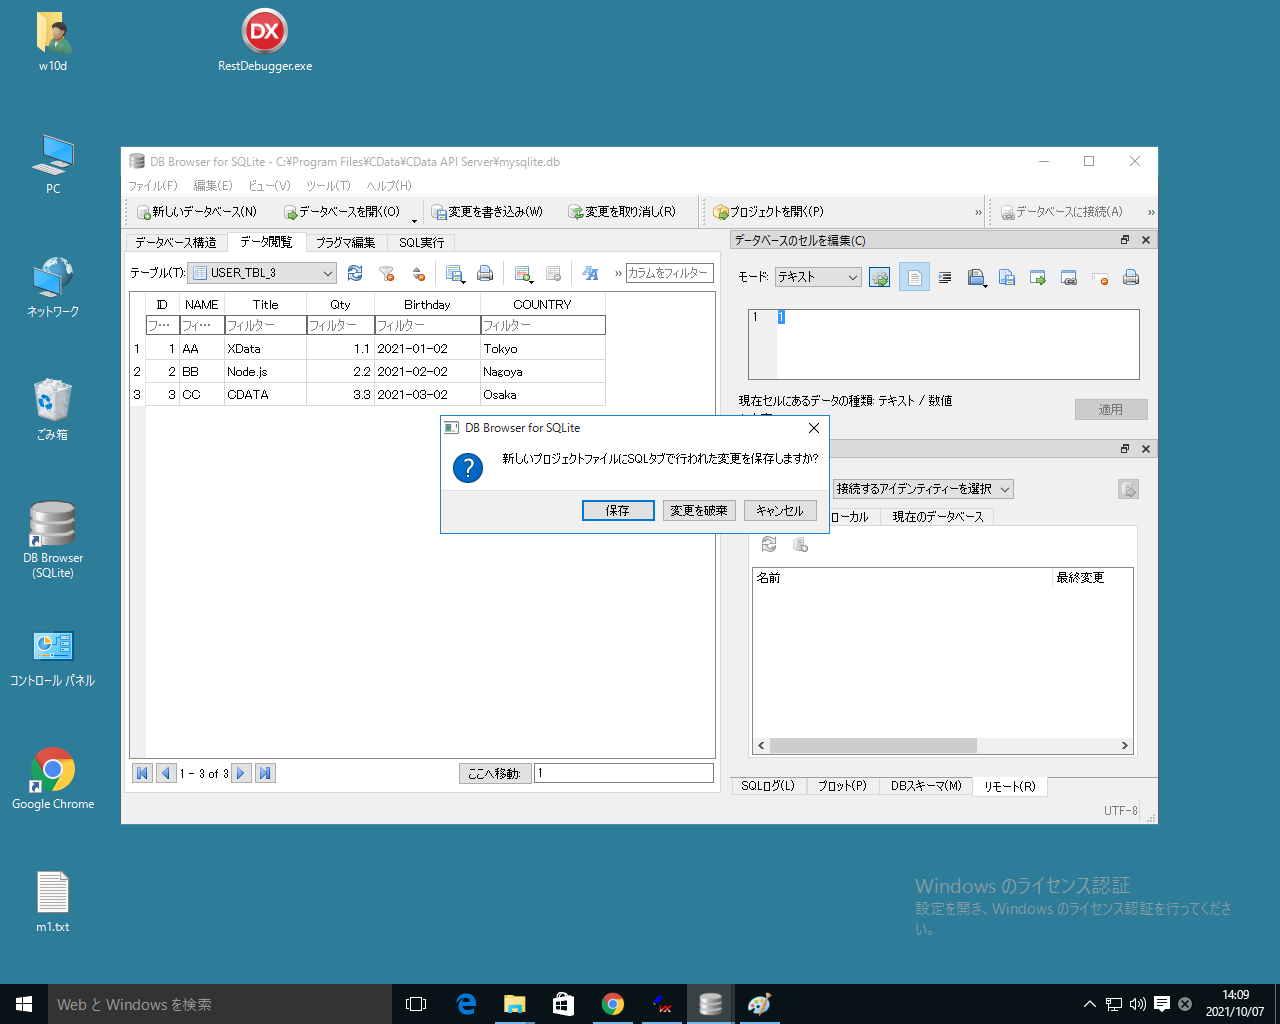


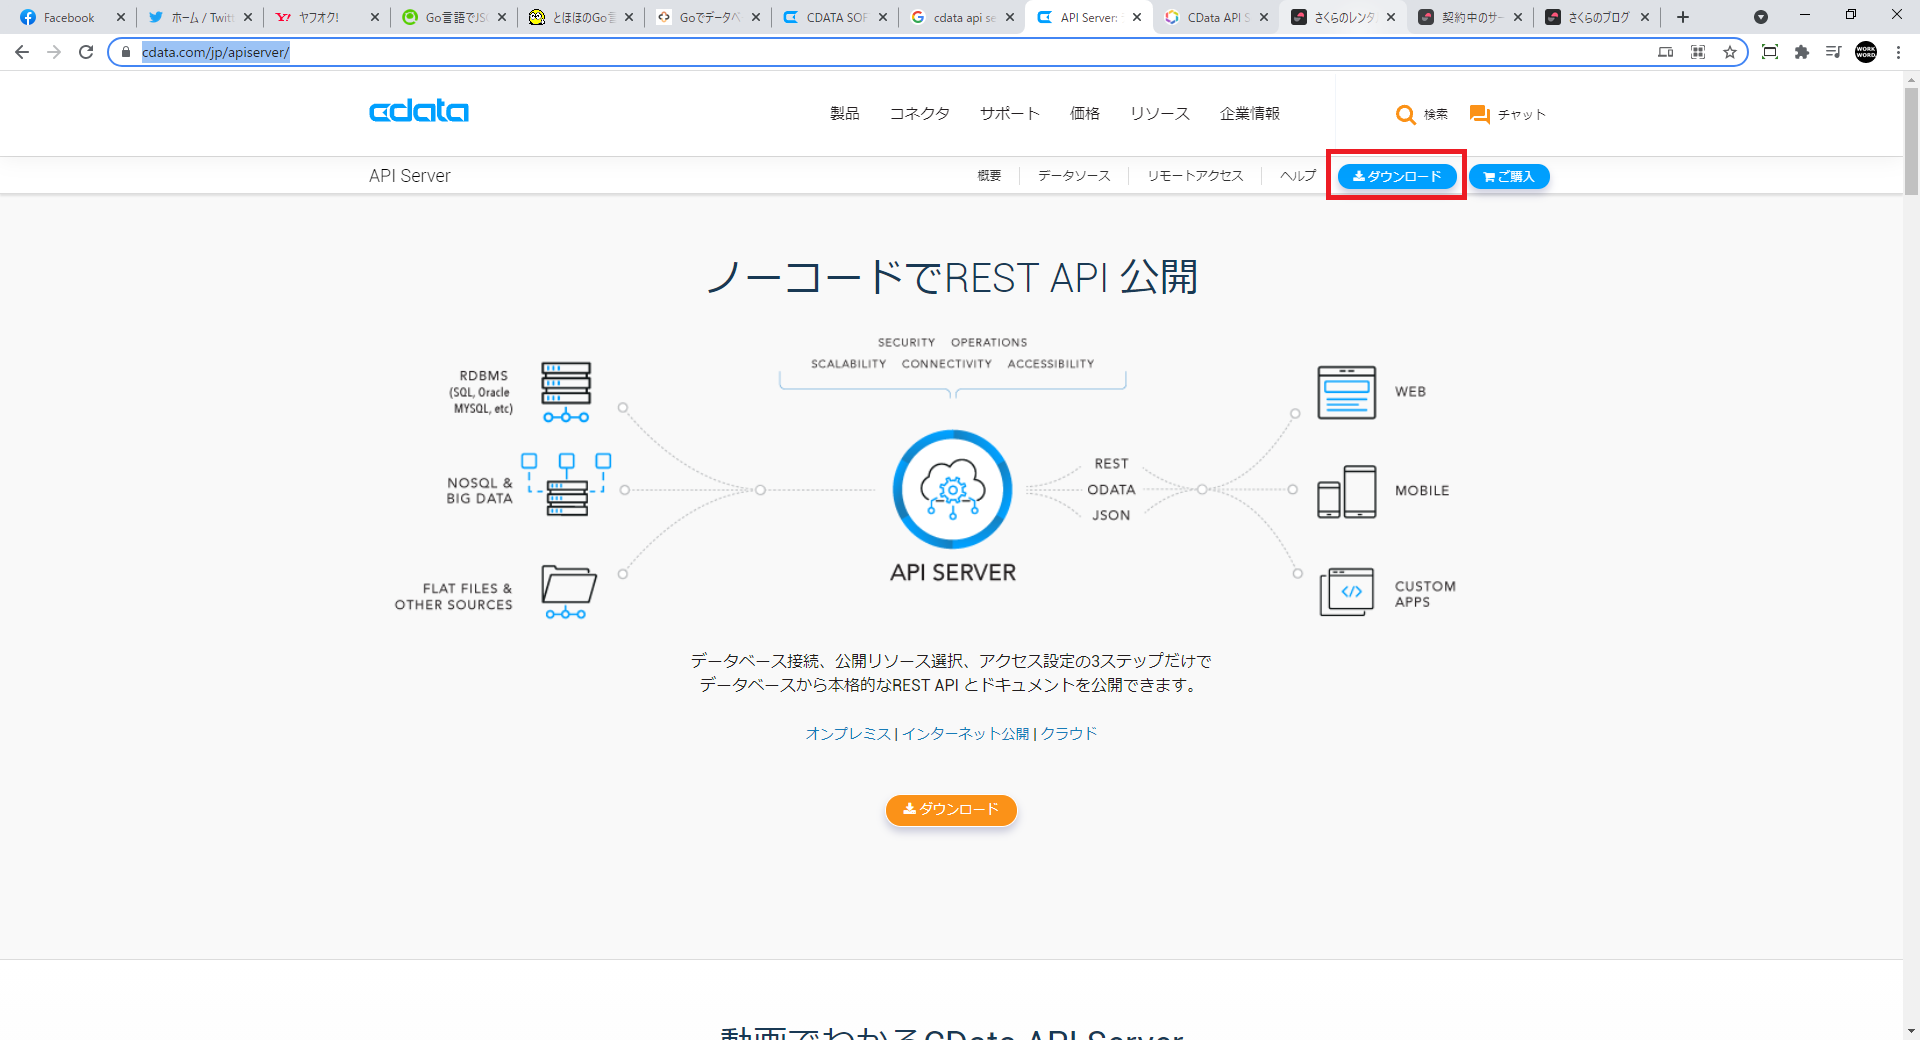

自動起動している?
自動起動している?

---------------------------------------------------------------------
Your flow credentials file is encrypted using a system-generated key.
If the system-generated key is lost for any reason, your credentials
file will not be recoverable, you will have to delete it and re-enter
your credentials.
You should set your own key using the 'credentialSecret' option in
your settings file. Node-RED will then re-encrypt your credentials
file using your chosen key the next time you deploy a change.
---------------------------------------------------------------------
6 Sep 15:59:31 - [info] Starting flows
6 Sep 15:59:31 - [info] Started flows
6 Sep 15:59:31 - [info] [sqlitedb:d9a2f071.d32e8] opened D:\NodeRed03\test1.db ok
6 Sep 15:59:31 - [info] Server now running at http://127.0.0.1:1880/
PostgREST 8.0.0 + PostgreSQL -13.4-1 + Windows10でテスト(2)
PostgREST 8.0.0 + PostgreSQL -13.4-1 + Windows10でテストをするための、PostgREST 8.0.0のインストールと設定と実行
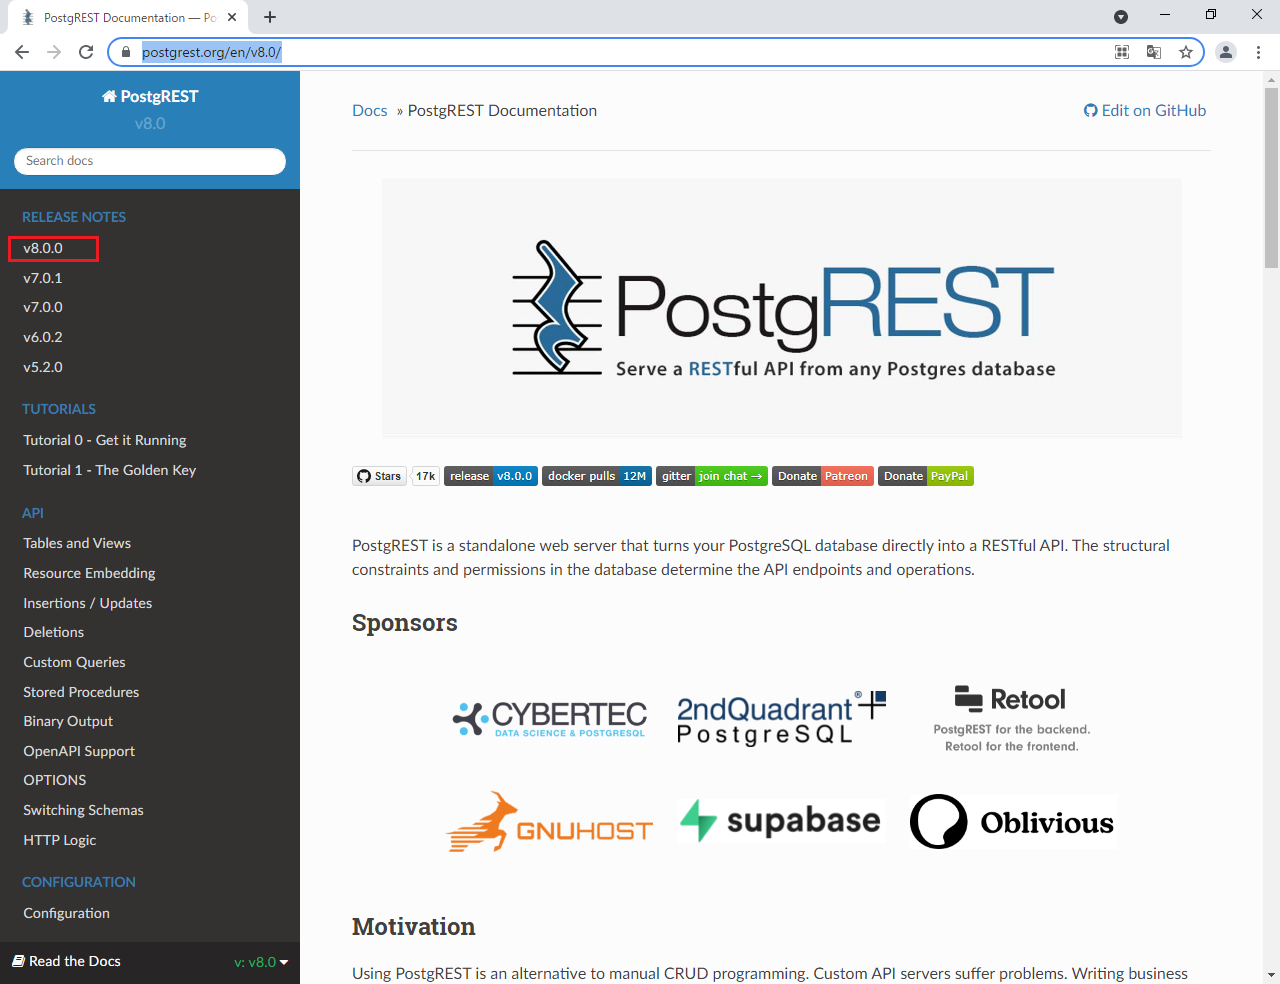
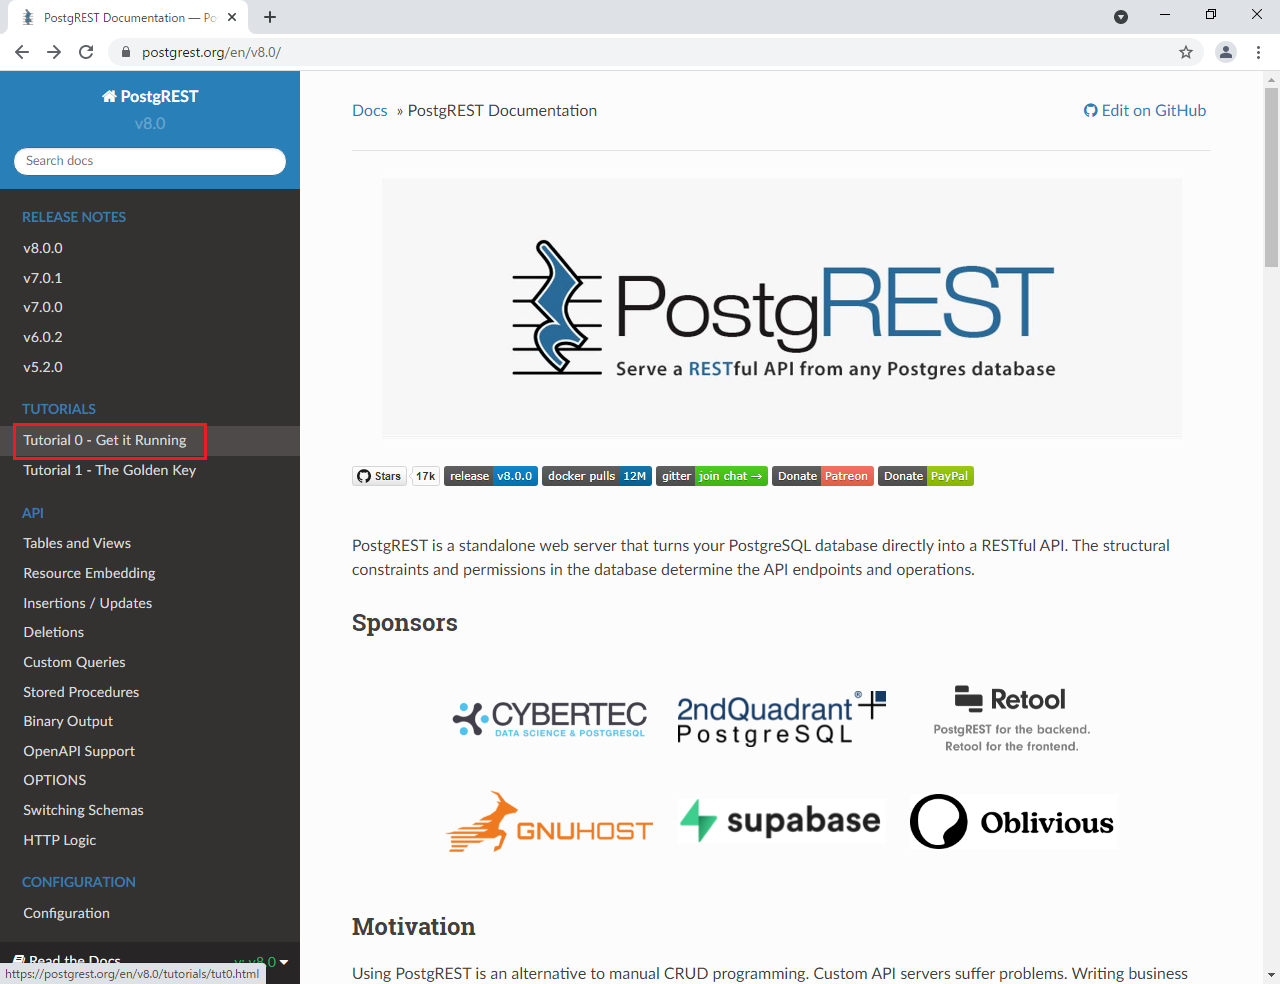
1. PostgRESTのサイト https://postgrest.org/en/v8.0/releases/v8.0.0.html から左の v8.0.0 を選択
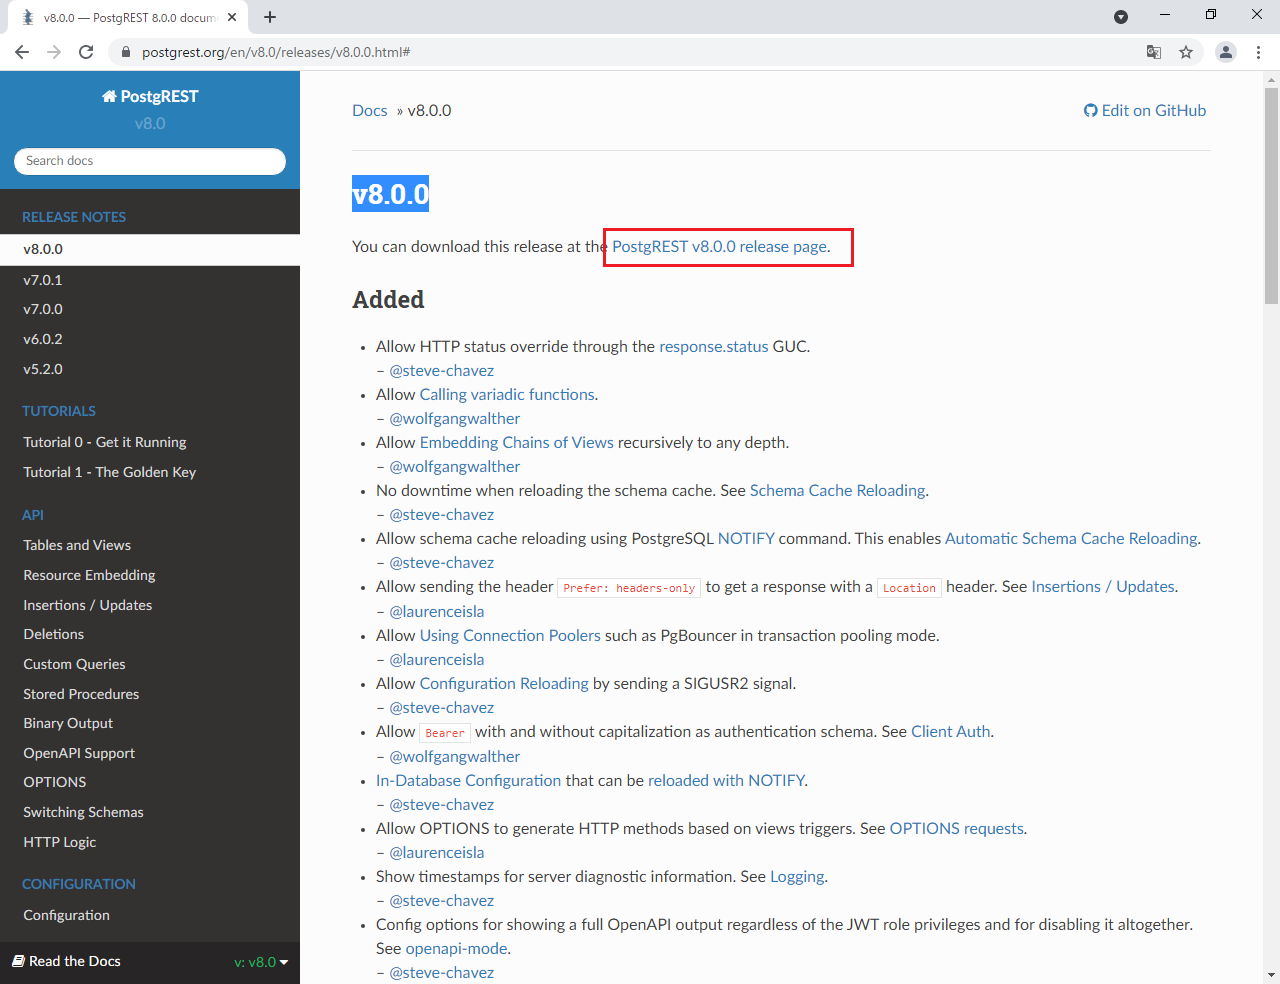
2. PostgREST v8.0.0 release page をクリック github に移動
3. 下に移動
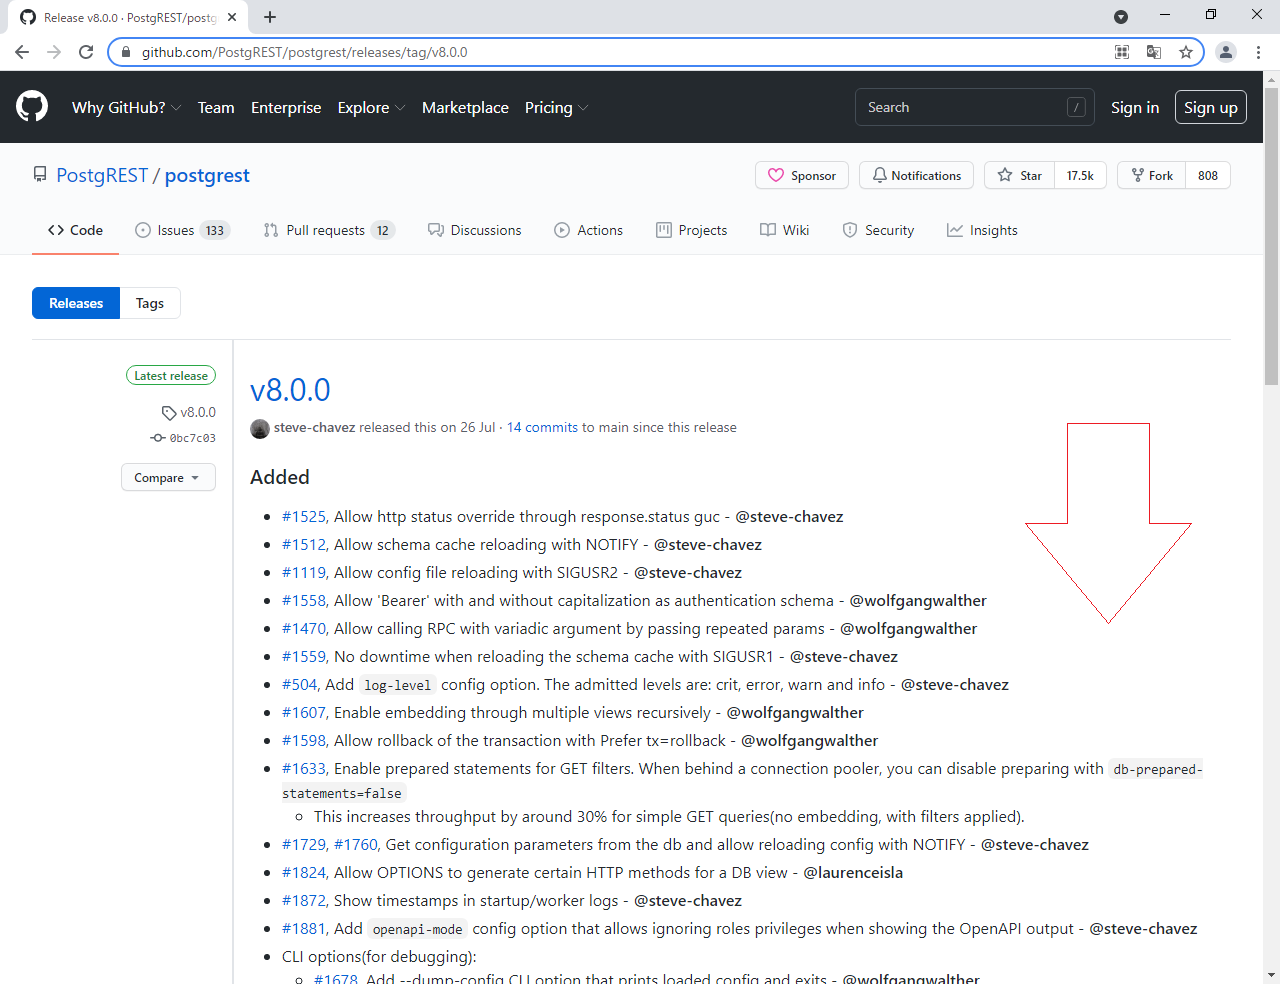
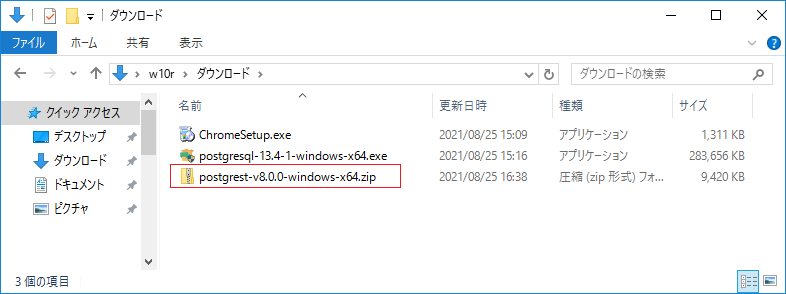
4. postgrest-v8.0.0-windows-x64.zip をダウンロードします。

5. 解凍します
6. postgrest.exe (t がついています) を
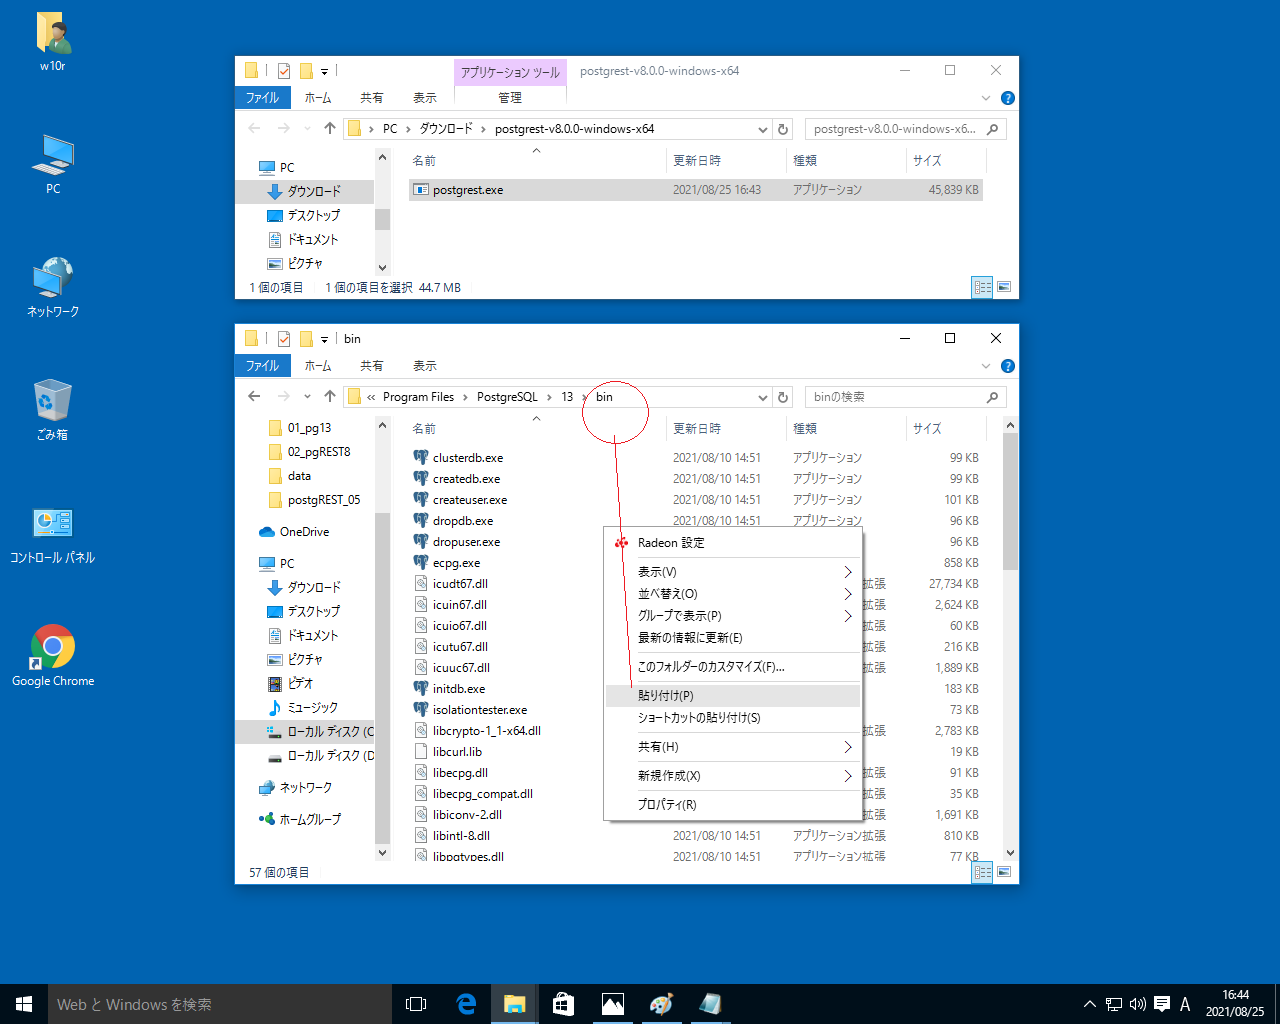
C:\Program Files\PostgreSQL\13\bin に コピーします。
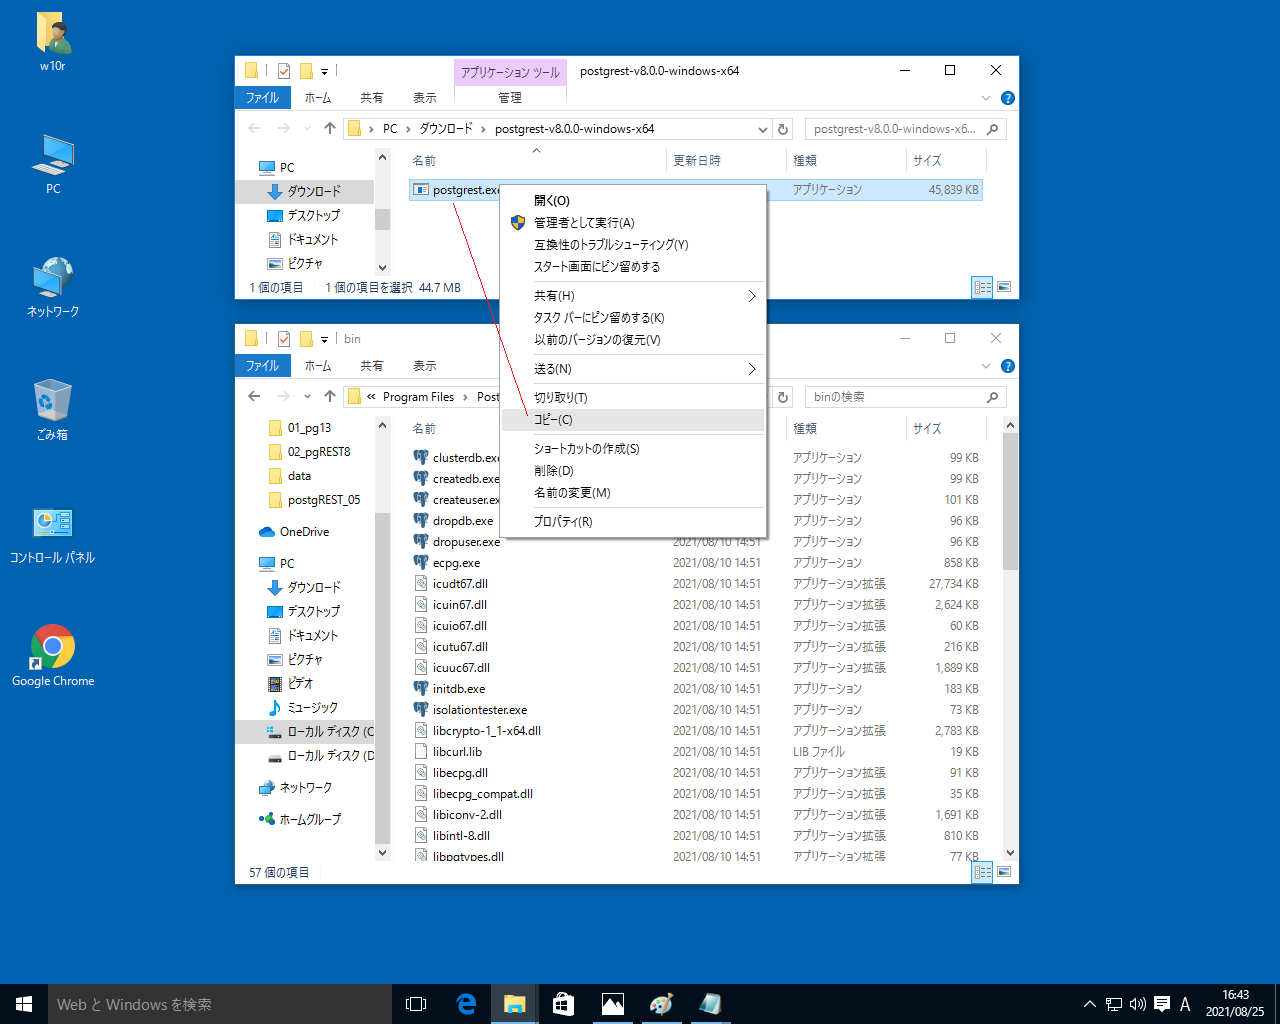
7. 貼り付け
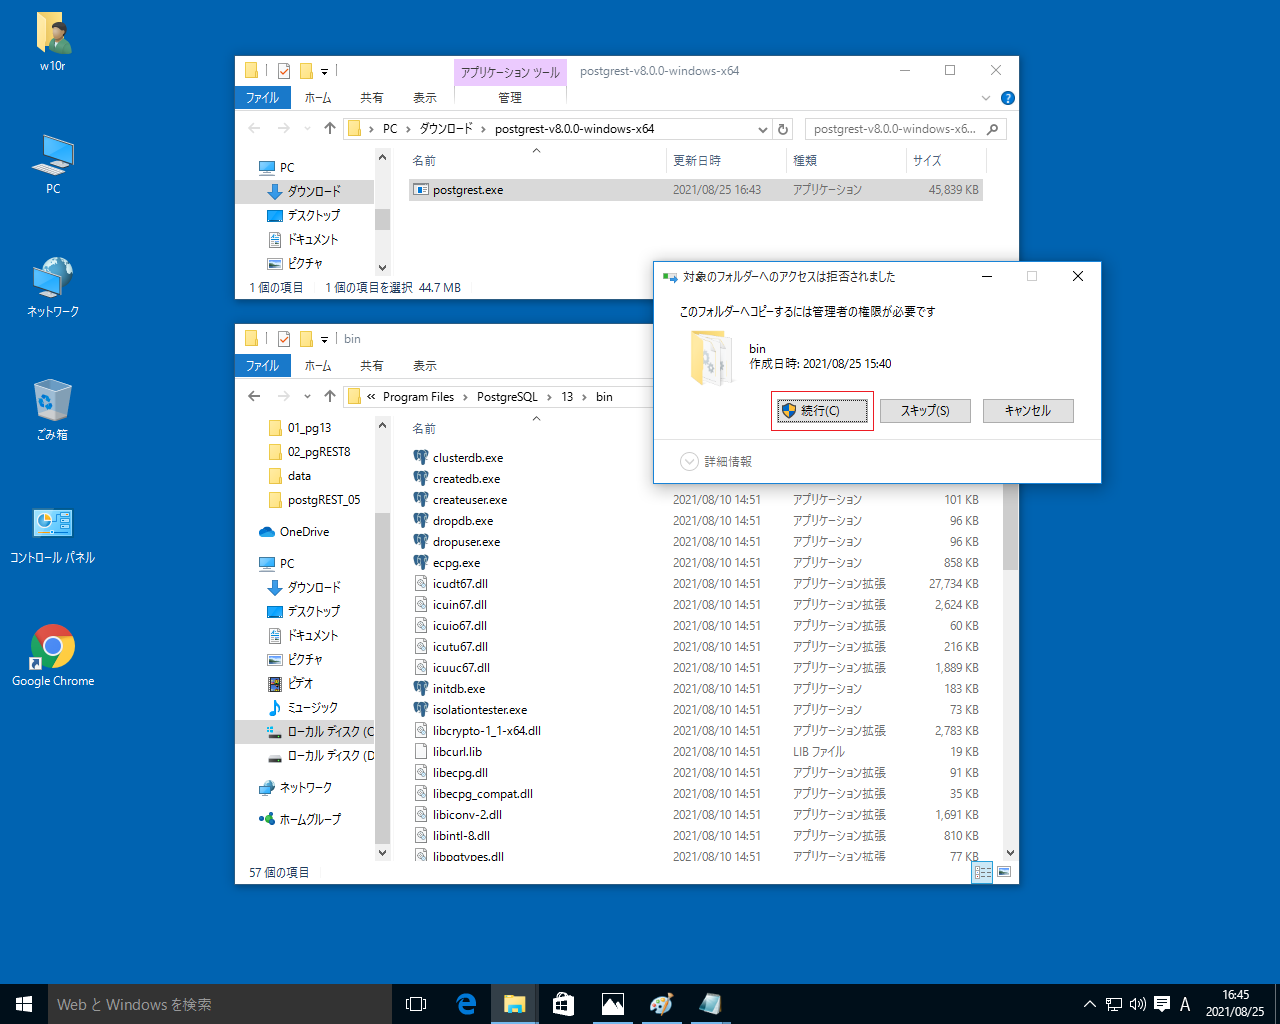
8. 対象のフォルダーへのアクセスは拒否されました
このフォルダーへコピーするには管理者の権限が必要です
と 警告されますが、
続行
を押します。
9. postgres に t がつくだけなので、見間違えそうになりますが、別のexe です。
postgres.exe
postgrest.exe

10. コマンドプロンプトから
cd C:\Program Files\PostgreSQL\13\bin
postgrest
で動作確認できます、
Usage: postgrest [-e|--example] [--dump-config | --dump-schema] FILENAME
PostgREST 8.0.0 (0bc7c03) / create a REST API to an existing Postgres database
などが表示されていれば、オッケーです。

11. Tutorial 0 - Get it Running を選択して、サンプルの todos の動作を実行していきます。
12. PostgREST 8.0.0 + PostgreSQL -13.4-1 + Windows10でテスト(1)と 10.までの作業で、Tutorial 0 - Get it Runningの
Step 1. Relax, we’ll help (ステップ1.リラックスしてください)
Step 2. Install PostgreSQL (ステップ2.PostgreSQLをインストールします)
Step 3. Install PostgREST (ステップ3.PostgRESTをインストールします)
まで、終了しています。

----------------------
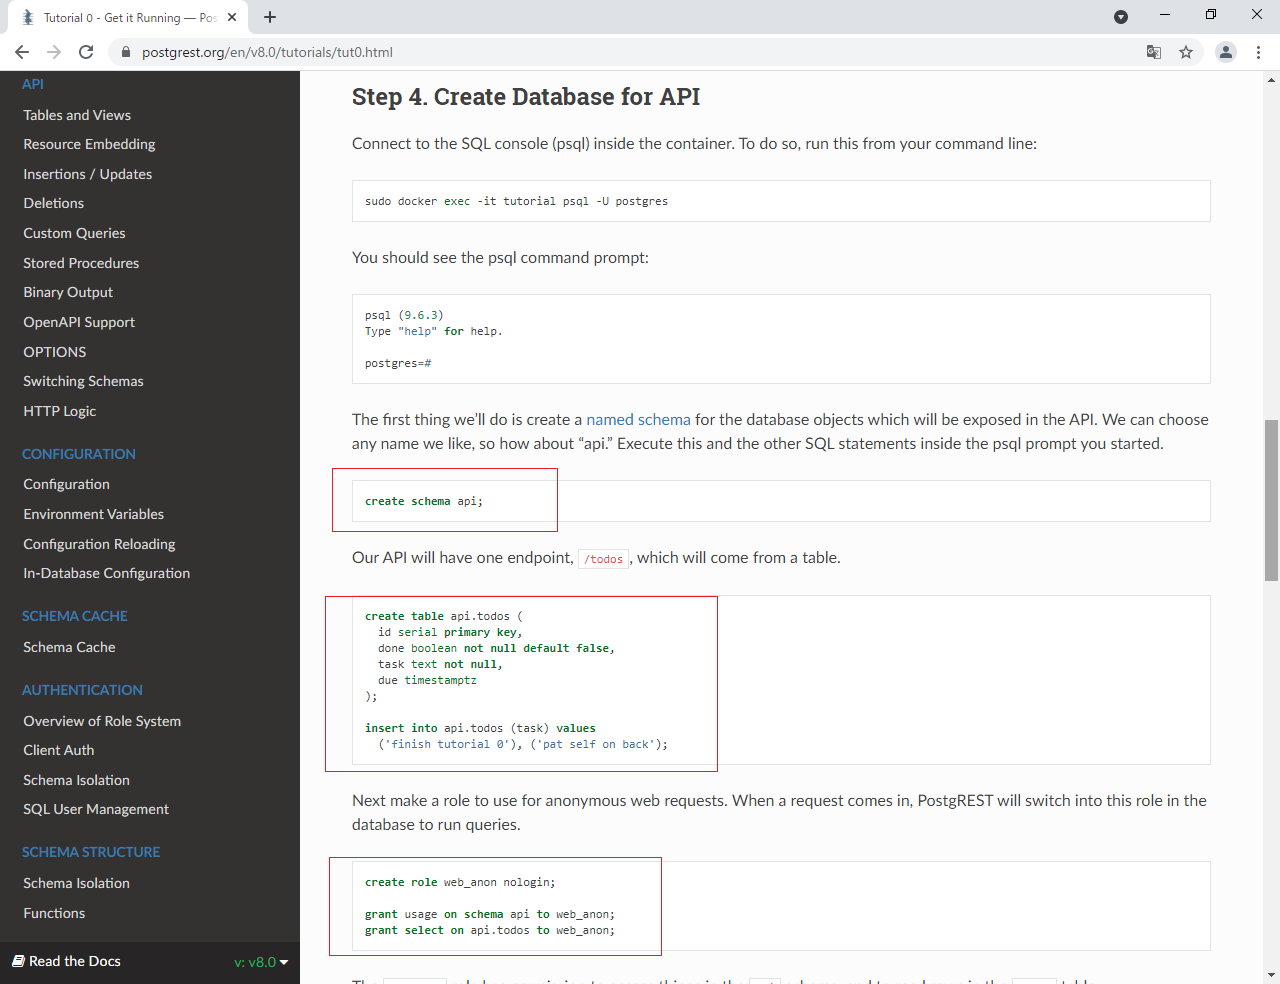
create schema api;
----------------------
create table api.todos (
id serial primary key,
done boolean not null default false,
task text not null,
due timestamptz
);
----------------------
insert into api.todos (task) values
('finish tutorial 0'), ('pat self on back');
----------------------
create role web_anon nologin;
----------------------
grant usage on schema api to web_anon;
----------------------
grant select on api.todos to web_anon;
----------------------
***この行を変更***create role authenticator noinherit login password 'mysecretpassword';
***PostgREST 8.0.0 + PostgreSQL -13.4-1 + Windows10でテスト(1)で設定した、パスワード
----------------------
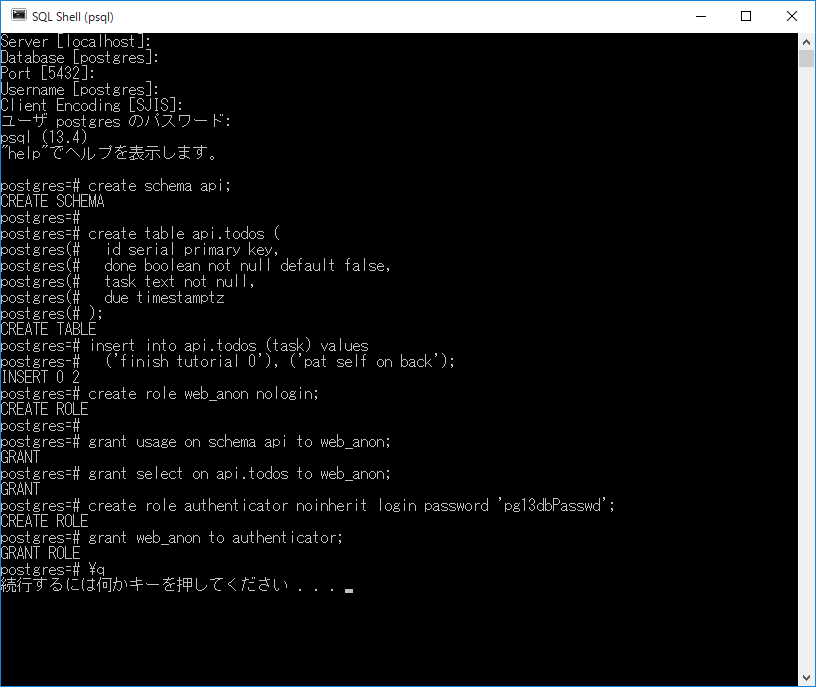
create role authenticator noinherit login password 'pg13dbPasswd';
----------------------
grant web_anon to authenticator;
----------------------
\q
----------------------
各行の意味は、https://postgrest.org/en/v8.0/tutorials/tut0.html を参照してください。
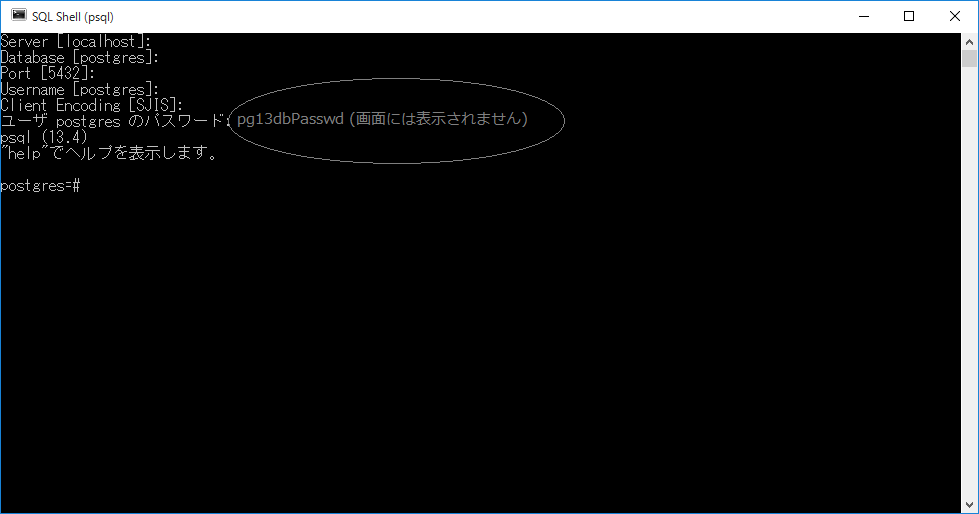
14. psql を実行します
Server [localhost]: Enterですすむ
Database [postgres]: Enterですすむ
Port [5432]: Enterですすむ
Username [postgres]: Enterですすむ
Client Encoding [SJIS]: Enterですすむ
ユーザ postgres のパスワード: pg13dbPasswd (画面には表示されません) を入力して、Enterですすむ
psql (13.4)
"help"でヘルプを表示します。
postgres=# が表示されれば、オッケー
15. 続行するには何かキーを押してください . . .
で Enterを押すと、画面がクローズされます。
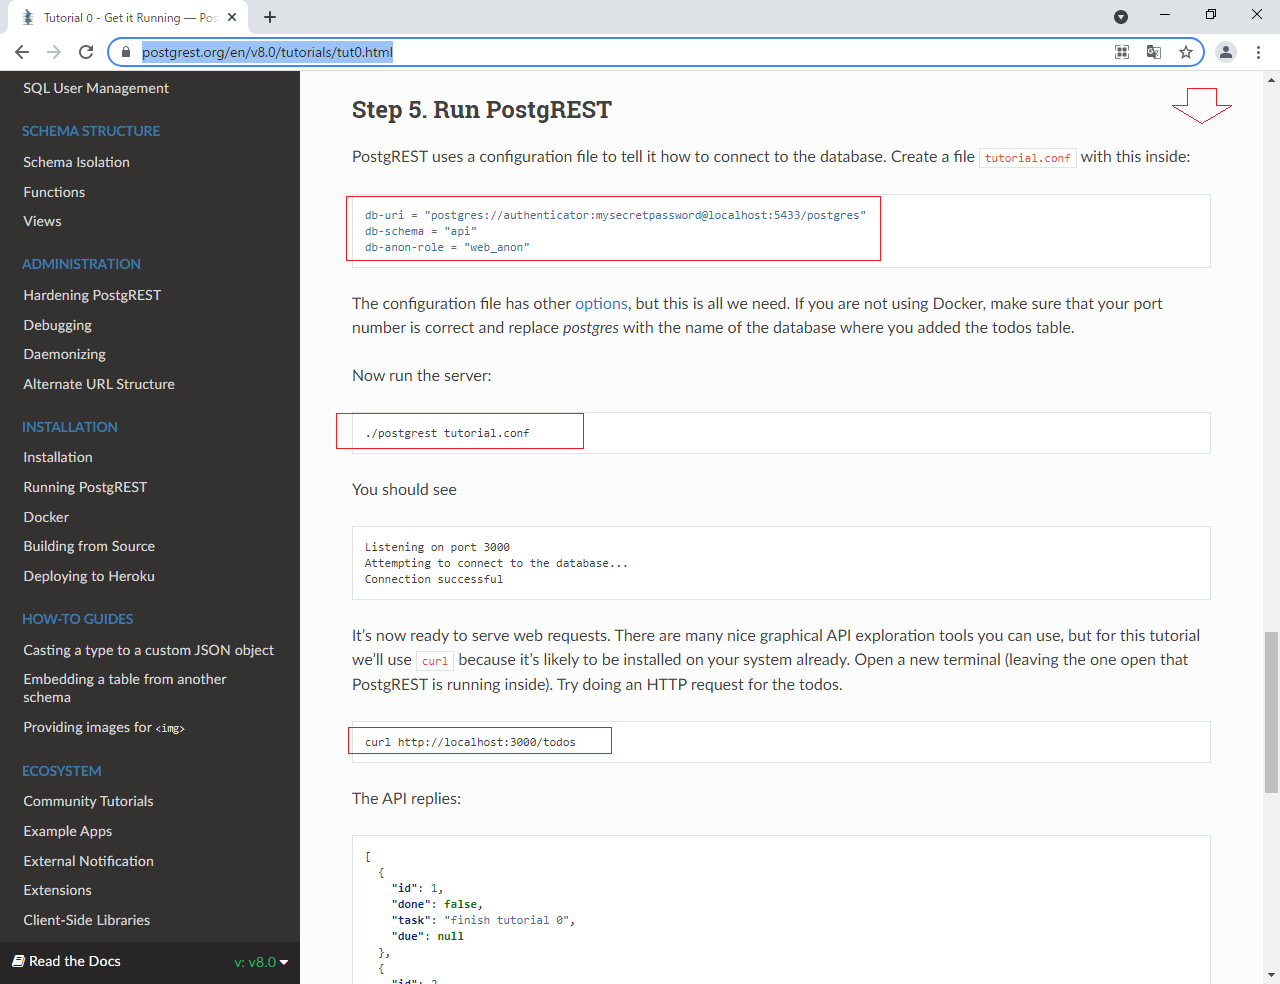
16. Step 5. Run PostgREST (ステップ5.PostgRESTを実行します)
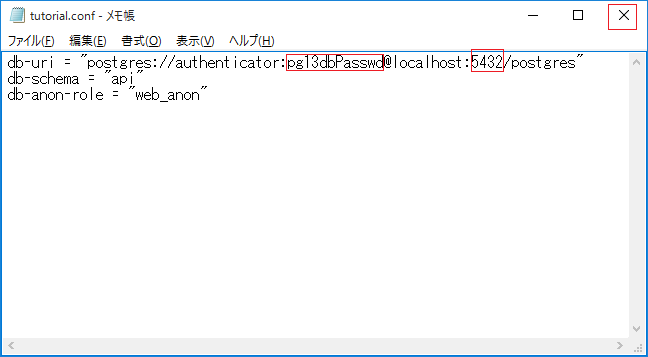
db-schema = "api"
db-anon-role = "web_anon"
で、tutorial.conf を作成します
17. メモ帳を管理者として実行します。
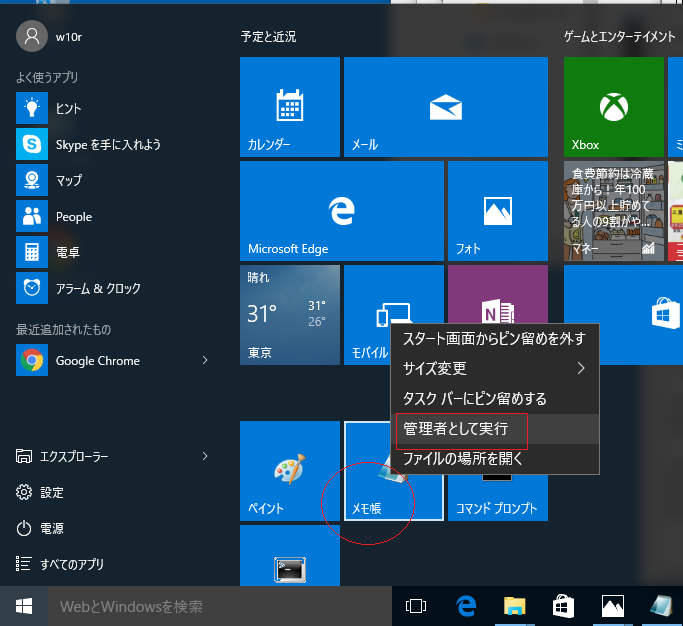
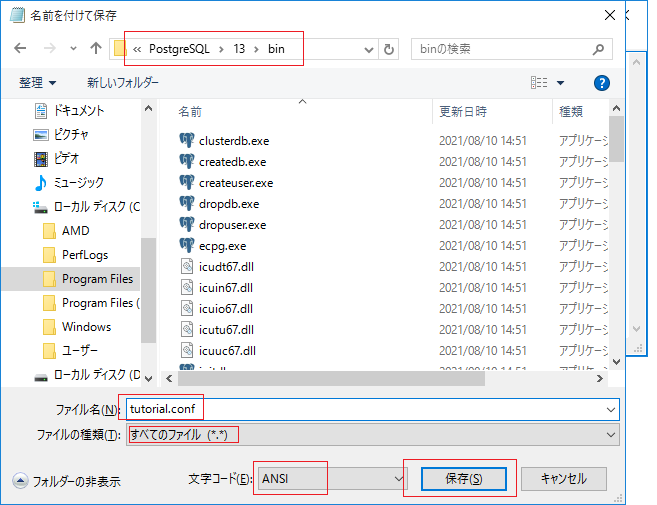
18.

19. C:\Program Files\PostgreSQL\13\bin
に
tutorial.conf
として、保存します。
20. × で閉じます。
21. サイトの ./postgrest tutorial.conf は 実行するのがWindowsなので
cd C:\Program Files\PostgreSQL\13\bin
postgrest tutorial.conf
となります。
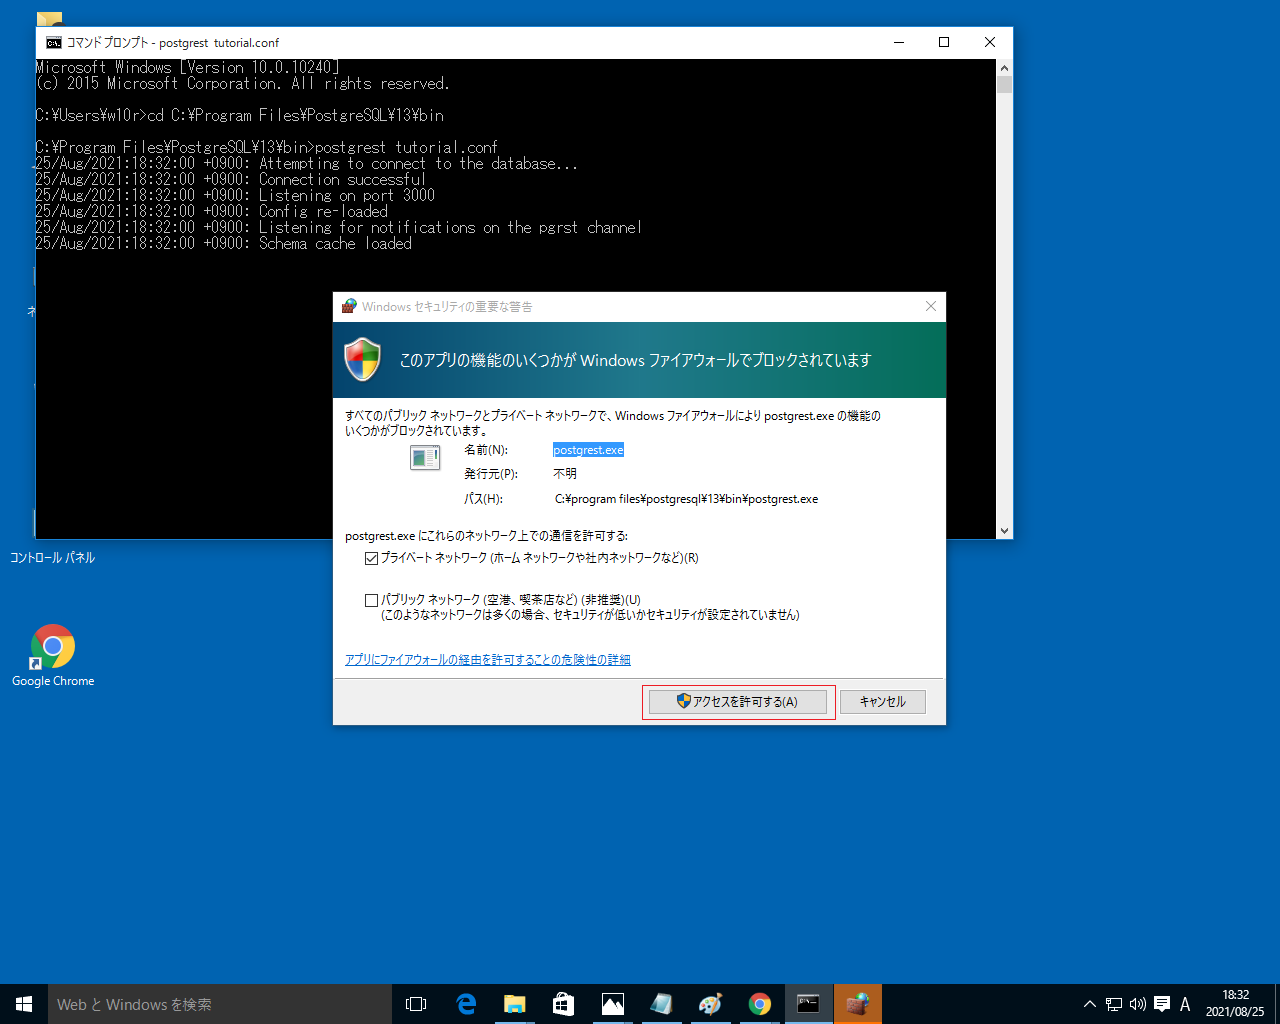
22. 下記のように表示で、起動しています。
C:\Program Files\PostgreSQL\13\bin>postgrest tutorial.conf
25/Aug/2021:18:32:00 +0900: Attempting to connect to the database...
25/Aug/2021:18:32:00 +0900: Connection successful
25/Aug/2021:18:32:00 +0900: Listening on port 3000
25/Aug/2021:18:32:00 +0900: Config re-loaded
25/Aug/2021:18:32:00 +0900: Listening for notifications on the pgrst channel
25/Aug/2021:18:32:00 +0900: Schema cache loaded

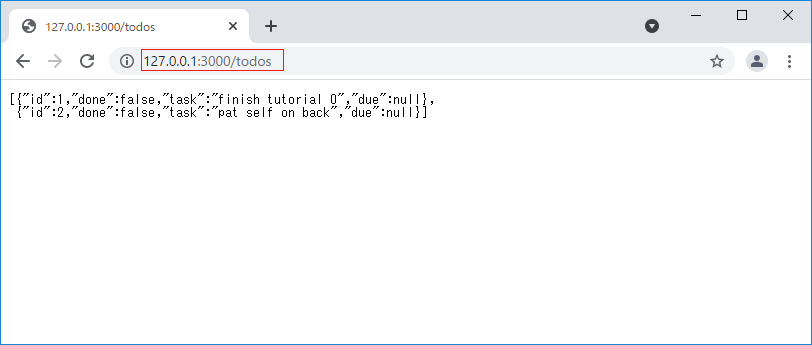
23. サイトの curl http://localhost:3000/todos
は、ブラウザで
http://localhost:3000/todos と入力して、確認します。
正しく、jsonが返されています。
[{"id":1,"done":false,"task":"finish tutorial 0","due":null},
{"id":2,"done":false,"task":"pat self on back","due":null}]
実行時のエラー
portが違うと

tutorial.conf の文字コードが違うと
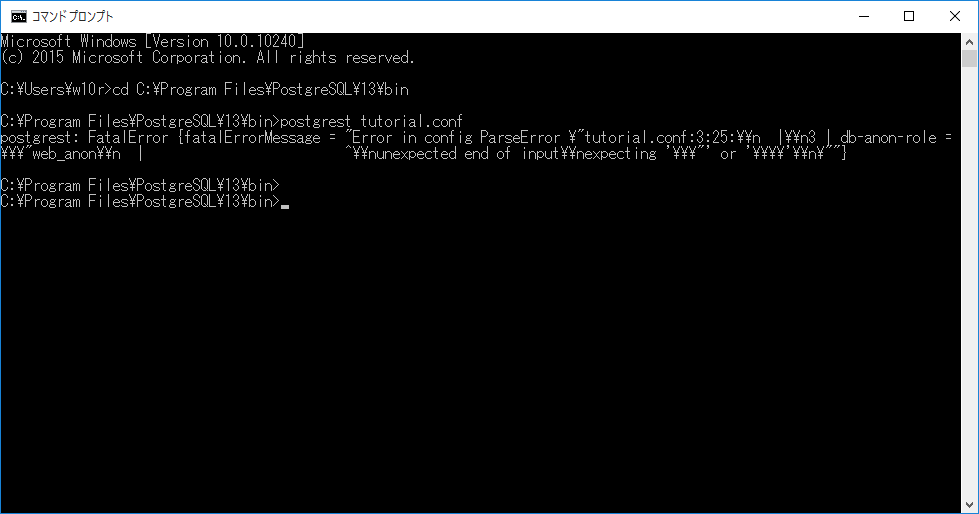
のような、エラーとなりました。
サイトのインストール方法のscoopなとで、
PostgREST 8.0.0 + PostgreSQL -13.4-1 + Windows10でテスト(1)
PostgREST 8.0.0 + PostgreSQL -13.4-1 + Windows10でテストをするための、PostgreSQL -13.4-1のインストール
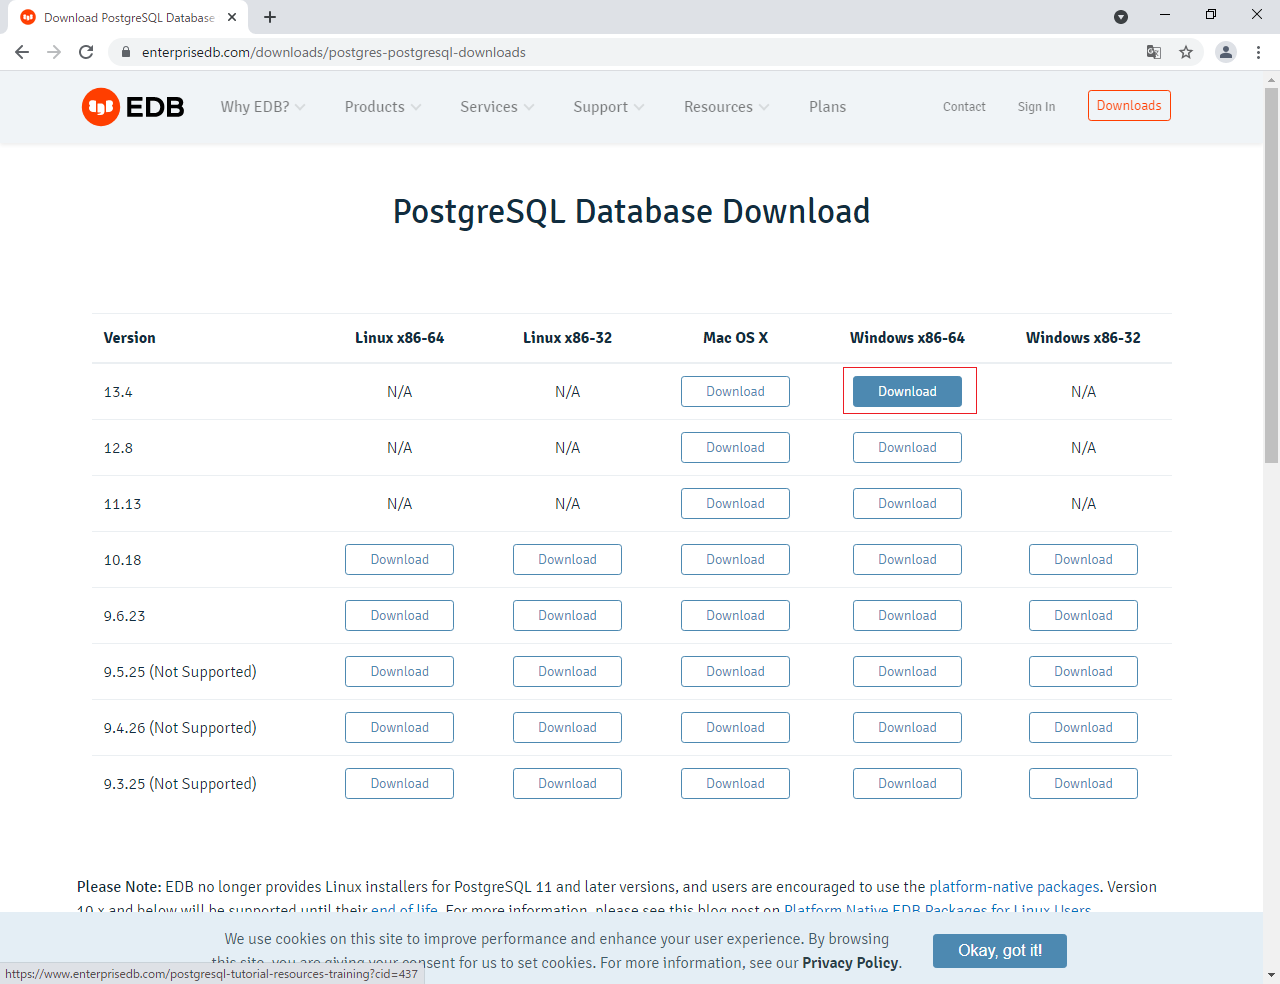
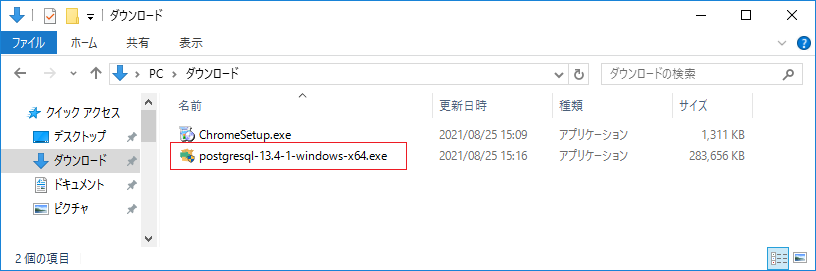
1. https://www.postgresql.org/download/windows/ から Download the installer をクリック。

3.

4. postgresql-13.4-1-windows-x64.exe を実行。
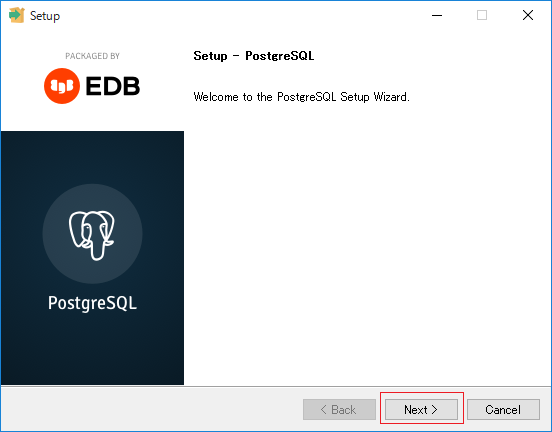
5.
6.
7.
8.

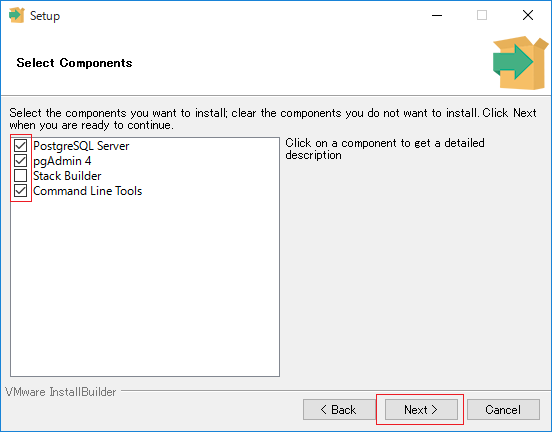
9. Stack Builder は使用しないので、チェックを外します。
(pgAdmin4 はインストールしなくても、この作業は、可能です、また最新版をインストールしてもオッケーです)
10.

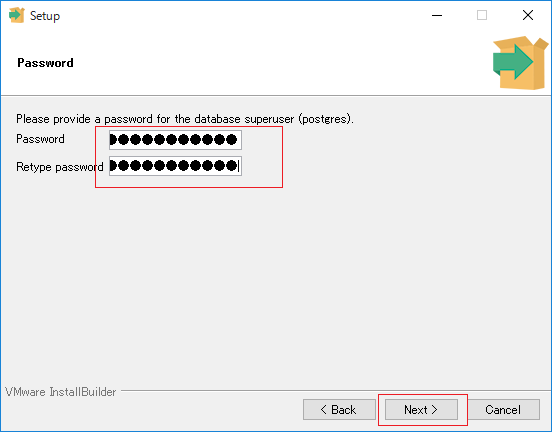
11. 後述の、PostgREST 8.0.0でも使用する、PostgreSQLのパスワードです。
pg13dbPasswd
pg13dbPasswd
とします(大文字小文字に注意)
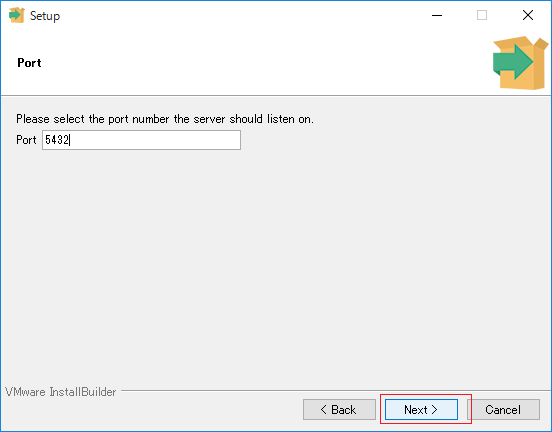
12. 標準の 5432 ポートとします
後述の、PostgREST 8.0.0の Tutorial 0 - Get it Running (https://postgrest.org/en/v8.0/tutorials/tut0.html) では 5433 ですが、標準の 5432 で進めます。
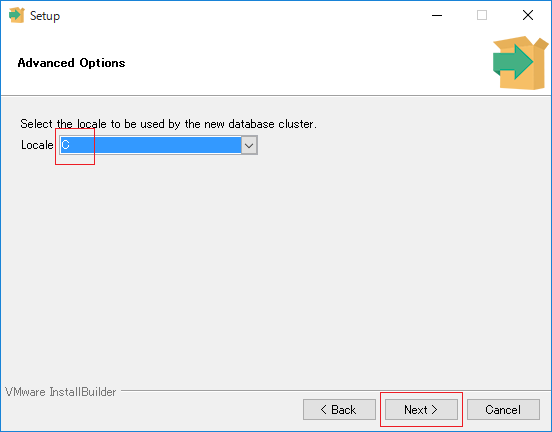
13. ロケールを選択します。
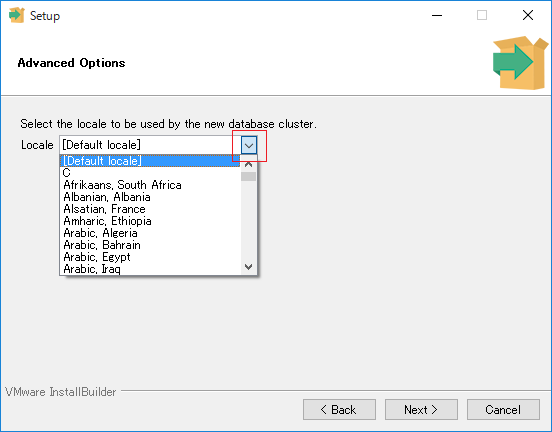
14. 今回は、 C とします。
(たぶんDefalut またはJapaneseでも問題ないと思います)
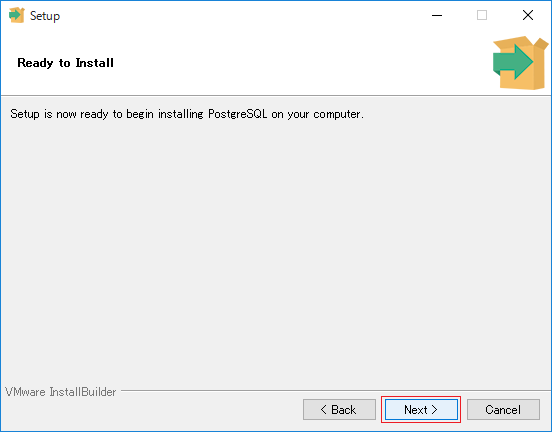
15.
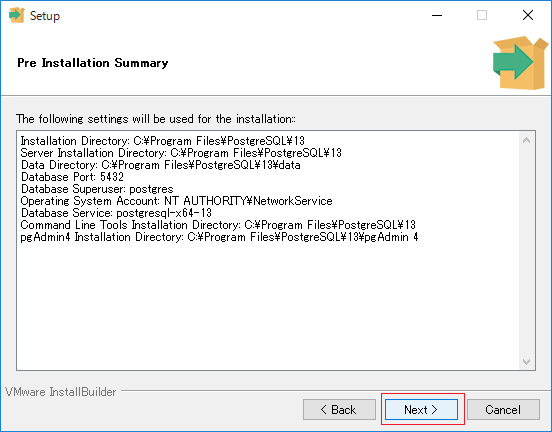
16.
17. インストール中です。
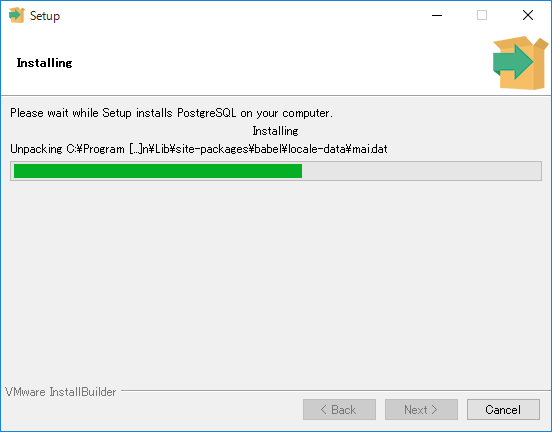
18.

20. 必要があれば、(今回の作業では、pg_hba.conf / postgresql.conf の編集はなしでも動作確認できます)
C:\Program Files\PostgreSQL\13\data の pg_hba.conf
と
postgresql.conf を編集します。
(postgresql.confは、https://pgtune.leopard.in.ua/#/ のサイトを使用すると大変便利です)

21.
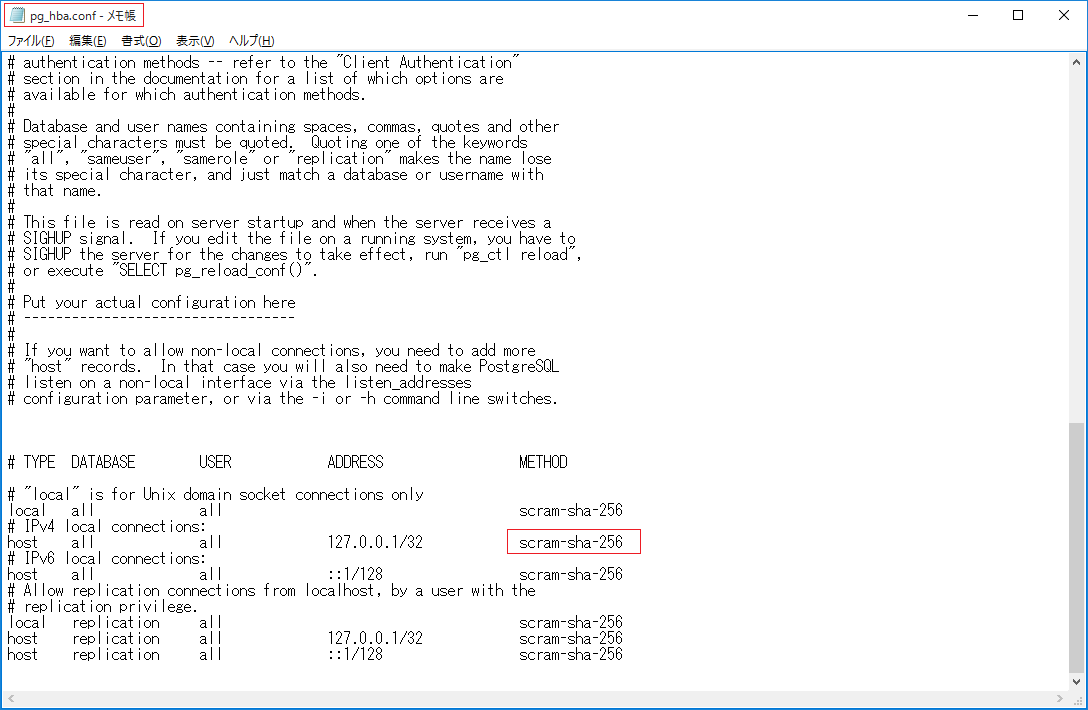
22. pg_hba.confを編集
今回は、ローカルの他の機器から接続確認もできるように、追記します。
(192.168.20.0/24 scram-sha-256を追加すると、ローカルエリアの 192.168.20.xxx アドレスから scram-sha-256 で接続が可能となります。)
host all all 127.0.0.1/32 scram-sha-256
host all all 192.168.20.0/24 scram-sha-256

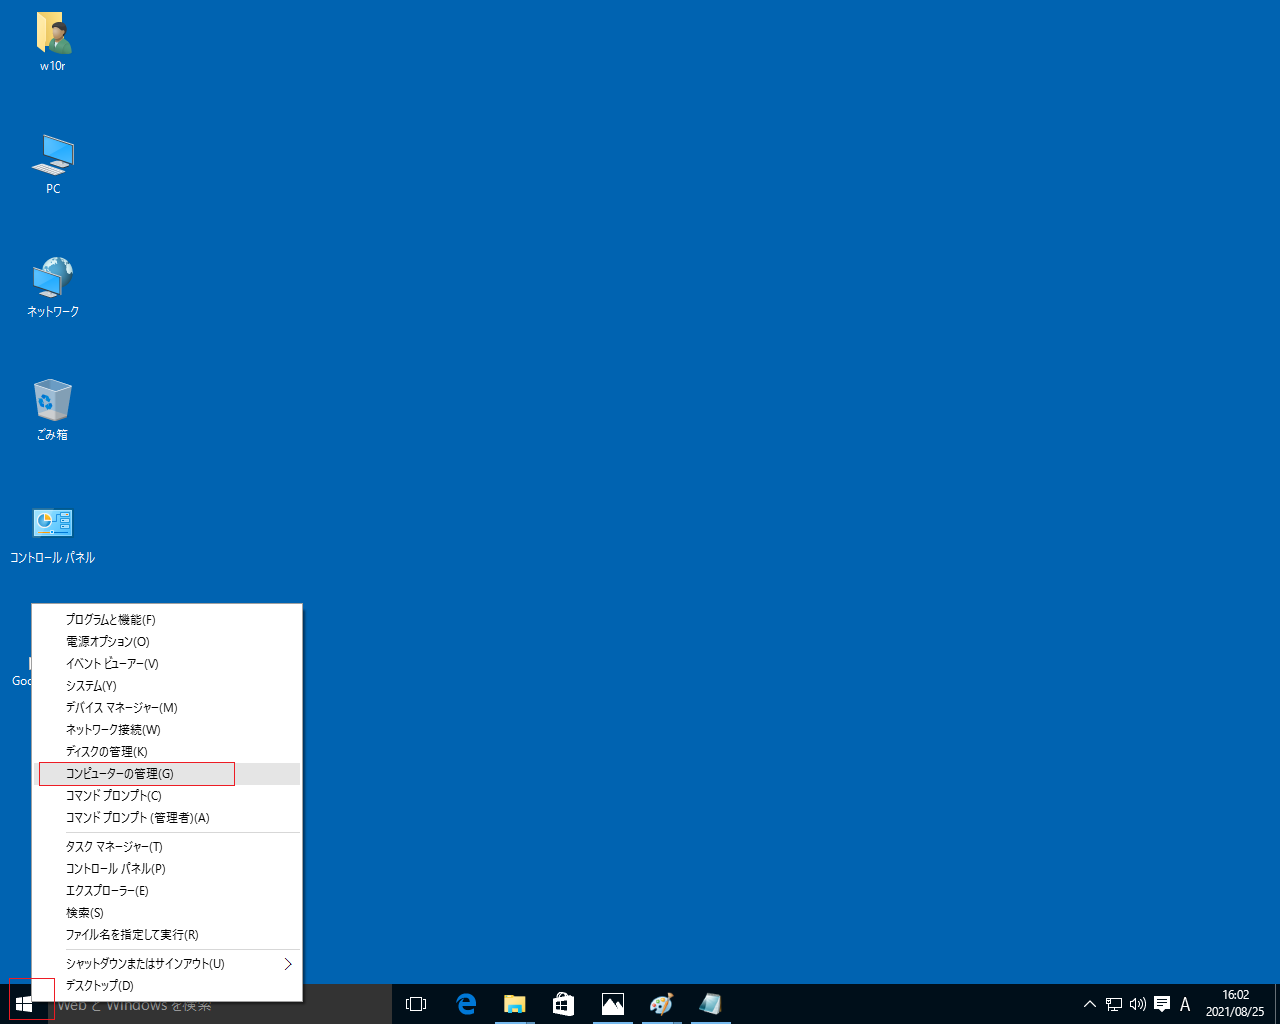
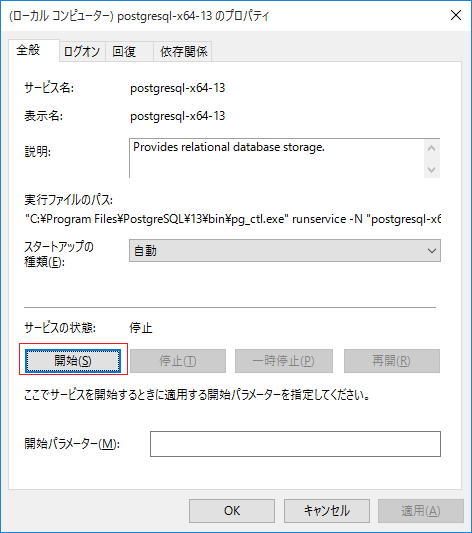
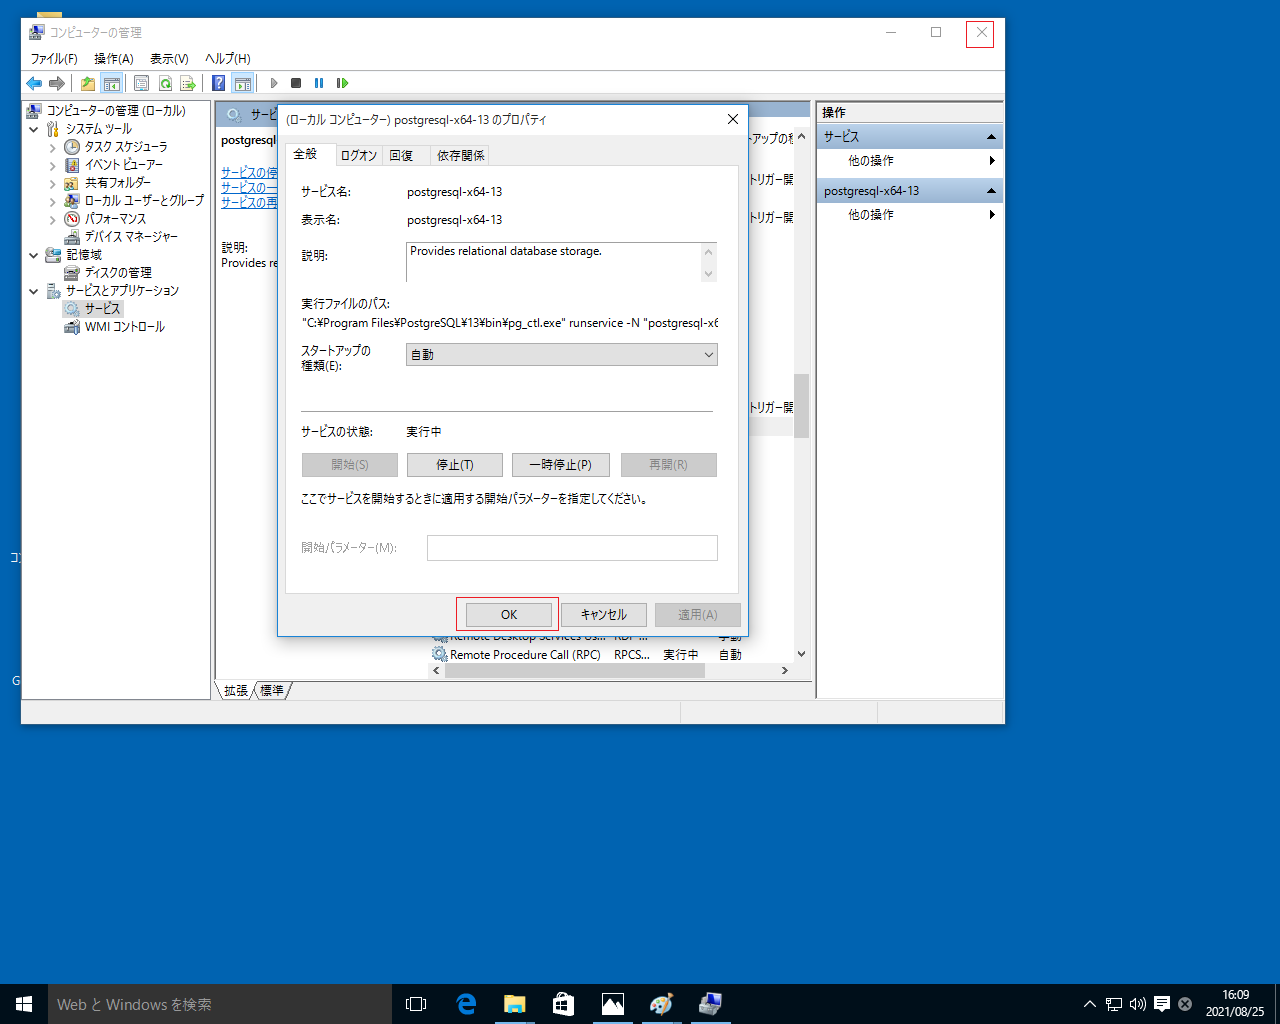
23. pg_hba.confを編集後、PostgreSQLの再起動が必要です。
スタートから右クリックで、コンピューターの管理
24. サービスとアプリケーションから
サービスのpostgres-x64-13 を選択
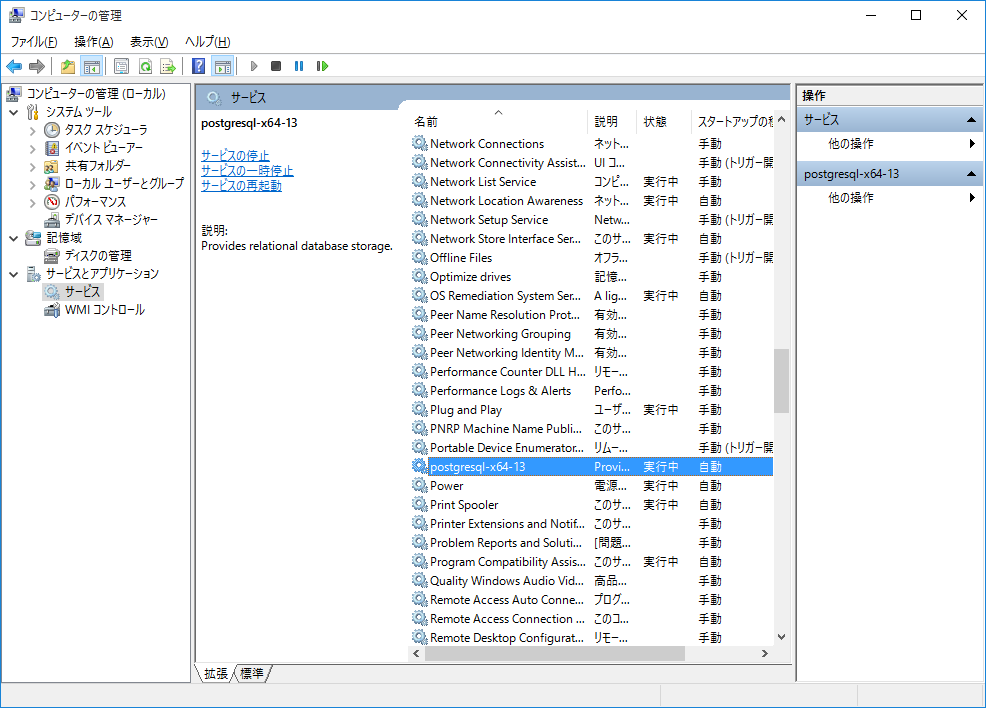
25. 停止
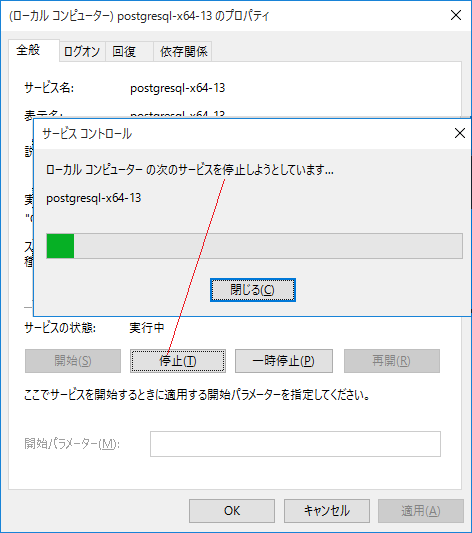
26. 開始
(この手順が面倒な方は、Windowsの再起動でもオッケーです)
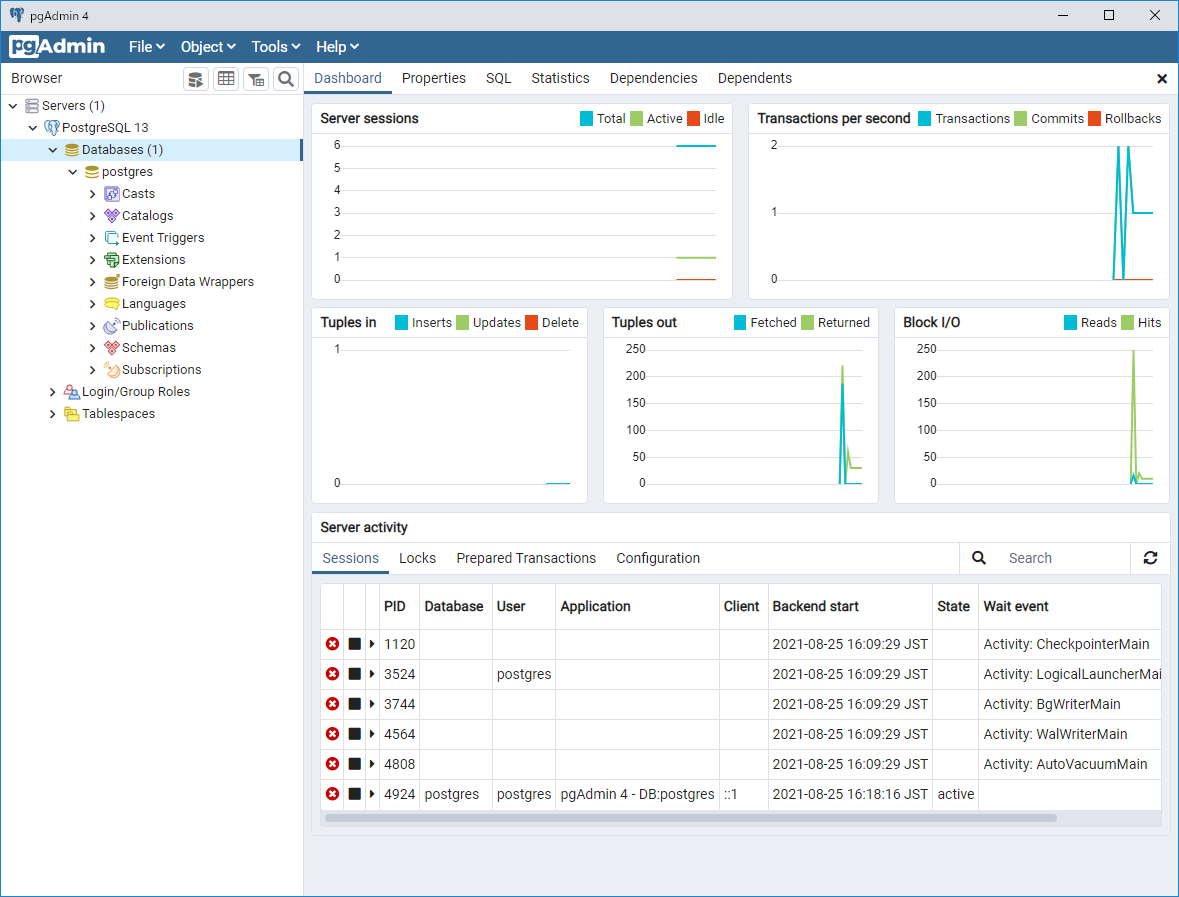
27. (Windowsにpostgresをインストールした場合、デフォルトで
28. pgAdmin4 で接続の確認をしてみます。